 Save to Pinterest
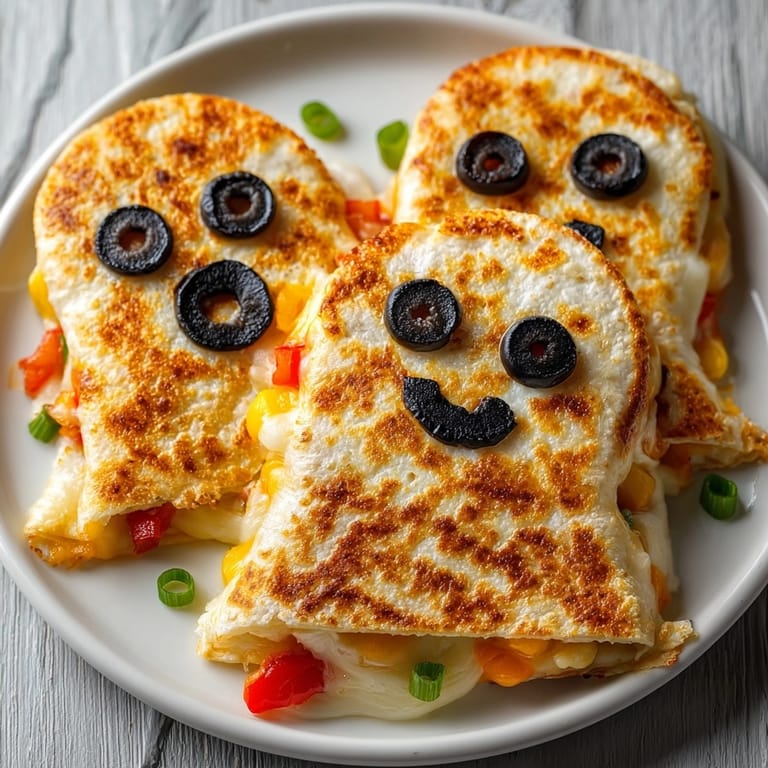
 Ghost Quesadillas are guaranteed to add fun to your Halloween spread with their spooky melted cheese and playful ghost shape. These are the perfect one-pan treat for parties or a cozy snack with the kids. The best part is just how quickly they come together whether you bake or pan-fry them every bite delivers buttery crispness and gooey cheese.
The first time I made ghost quesadillas my youngest burst out laughing at their silly faces. Now everyone expects them for our yearly Halloween movie night and there are never any leftovers.
Ingredients
- Flour tortillas: provide the sturdy ghost shape and become crisp and golden as they cook. Choose soft but not brittle tortillas for easy shaping.
- Mozzarella cheese: melts smoothly for the classic gooey fill: buy a block and shred for best melt.
- Cheddar cheese: brings tangy sharpness and beautiful color. Look for sharp cheddar for punchy flavor.
- Black olives: create cute edible eyes and mouths. Opt for whole pitted black olives to slice yourself for clean shapes.
- Bell peppers (optional): add sweet crunch and color if you want extra veggie goodness. Pick firm, glossy peppers for best texture.
- Green onions (optional): bring a gentle zing and herby note. Go for crisp stalks with bright green tops.
- Unsalted butter or olive oil: brushed on top gives golden crispness. Use real butter for an extra rich result.
Tired of Takeout? 🥡
Get 10 meals you can make faster than delivery arrives. Seriously.
One email. No spam. Unsubscribe anytime.
Instructions
- Prepare Your Cooking Method:
- If baking set your oven to 375 degrees Fahrenheit and line a baking sheet with parchment paper. For a skillet warm over medium heat.
- Shape Your Ghosts:
- With a cookie cutter or knife cut two ghost shapes from each tortilla. Press firmly and try to make the edges as smooth as possible. You need eight ghost shapes in total.
- Build the Base:
- Lay out half the ghost cut-outs on your prepared baking sheet or plate. Keep a little space between each for even browning.
- Pile on the Cheese Plus Extras:
- Sprinkle each ghost with a generous layer of mozzarella and cheddar so every bite is cheesy. Scatter bell peppers and green onions over the top for color and crunch if using.
- Seal and Decorate:
- Place a matching ghost cut-out on each base. Press gently all over so the cheese sticks well. Add two olive slices for the eyes near the top and one small piece for the mouth. Shape the mouth precisely for expression.
- Butter Up:
- Lightly brush melted butter or olive oil across the top side of each quesadilla with a pastry brush. This ensures the ghosts will bake up golden and crispy.
- Cook to Perfection:
- For baking slide the pan into your oven for eight to ten minutes until the tortillas puff and cheese melts. For skillet cook each ghost for two or three minutes on one side then flip and brown the other carefully. Watch for crispness and bubbling cheese.
- Let Cool and Serve:
- Once finished let the quesadillas cool just a bit so the cheese sets. Serve warm and enjoy every gooey bite.
 Save to Pinterest
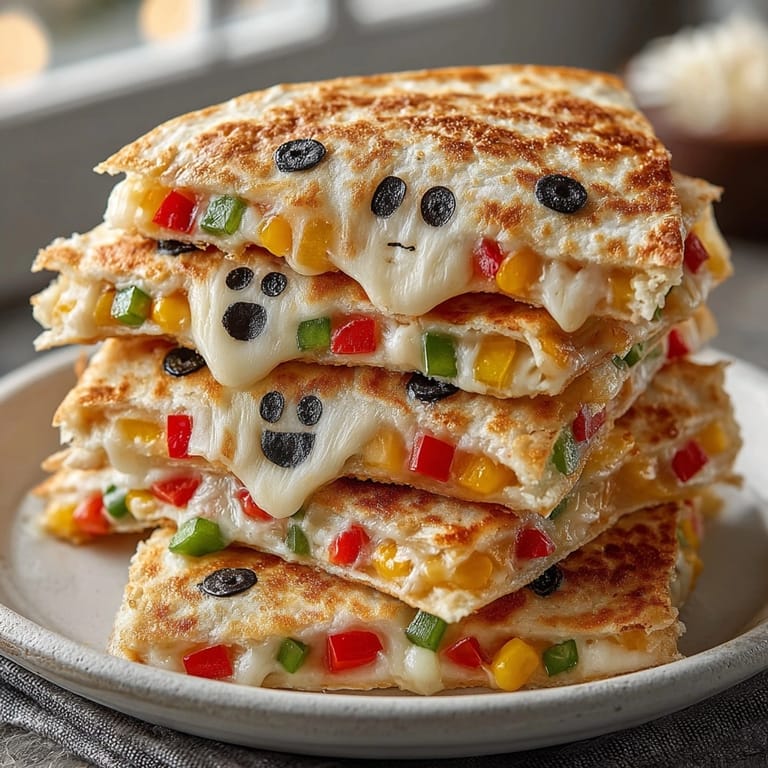
 I always get the best reactions when using sharp cheddar for the filling. Last year my niece tried green pepper for the first time and now always asks for extra in her ghost quesadilla. These little snacks have become our quirky tradition whenever Halloween rolls around.
Storage Tips
Store leftover ghost quesadillas in an airtight container for up to three days. Reheat in the oven at 350 degrees for five to seven minutes so the tortillas crisp back up and cheese gets melty again. Avoid microwaving to preserve that perfect texture.
Ingredient Substitutions
Swap flour tortillas for corn or gluten free versions if you need an allergy friendly option. Use a mix of Monterey Jack and Colby cheese instead of cheddar and mozzarella for milder flavor. If olives aren&t your favorite try bits of roasted pepper or black bean pieces for the facial features.
Serving Suggestions
Let kids decorate their own ghosts with other toppings such as jalapeño for spicy eyes or tomato bits for happy faces. Serve warm with a dipping trio salsa guacamole and sour cream for bigger flavor. Ghost quesadillas make fun finger food with apple slices or a simple green salad.
Cultural and Holiday Context
Quesadillas originated in Mexican cuisine and are loved in Tex-Mex traditions for their versatility. These ghost-shaped versions turn the classic recipe into a playful treat for Halloween where themed food brings everyone together. They work equally well for birthday parties or a weekend movie night.
Seasonal Adaptations
Try roasted butternut squash or cooked pumpkin for a fall update in the filling. Use red and green bell peppers to mimic festive colors for winter holidays. Stuff with sautéed mushrooms for a richer autumnal flavor.
Success Stories
One family shared that making ghost quesadillas is their annual Halloween kickoff. Kids giggle through the decorating and everyone rushes to grab a warm cheesy ghost when they come out of the oven. Others find these a low stress party starter since they can bake up big batches without fuss.
Freezer Meal Conversion
You can freeze baked ghost quesadillas in a single layer. Stack with wax paper between each before storing in a freezer bag. To serve reheat straight from frozen in the oven until crisp and hot—perfect for prepping ahead of time for busy party weeks.
 Save to Pinterest
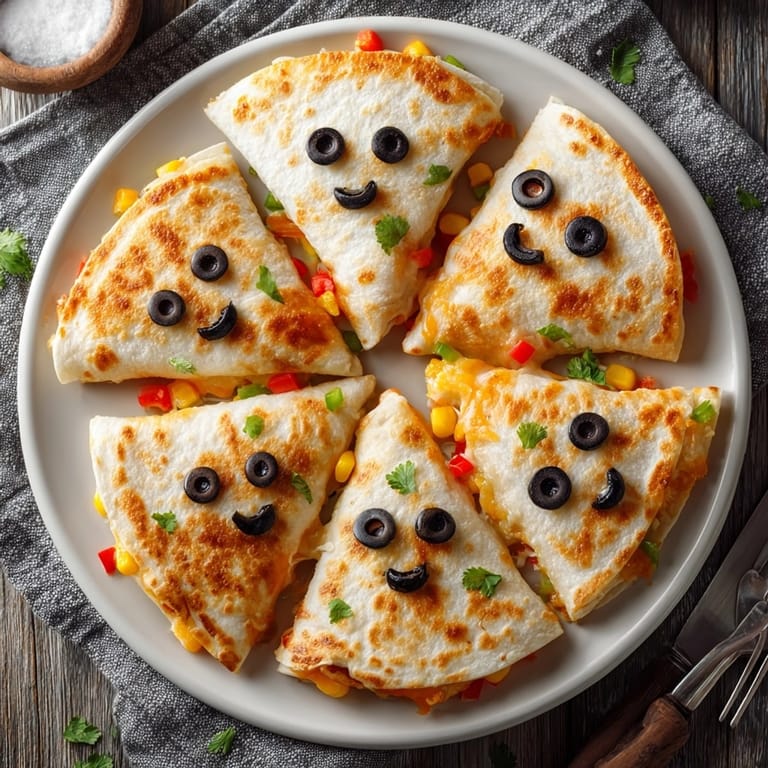
 These ghost quesadillas are always a hit at our family Halloween gatherings. Serve warm for smiles all around and enjoy every crispy bite.
Common Recipe Questions
- → Can I make these ghost quesadillas ahead of time?
Prepare the ghost shapes and assemble with filling, then refrigerate. Bake just before serving for best texture.
- → What alternative cheeses work for this snack?
Try Monterey Jack, Colby, or dairy-free shredded cheese for different flavors or dietary needs.
- → How do you get the tortilla ghosts to stay together?
Press gently when layering and brush with melted butter or oil, then bake or heat until cheese melts and binds them.
- → Can I use gluten-free tortillas?
Yes, gluten-free tortillas work well; just handle gently when cutting and assembling the shapes.
- → How can I add protein to these quesadillas?
Mix in cooked chicken, black beans, or sautéed mushrooms along with the cheese before baking or grilling.