 Save to Pinterest
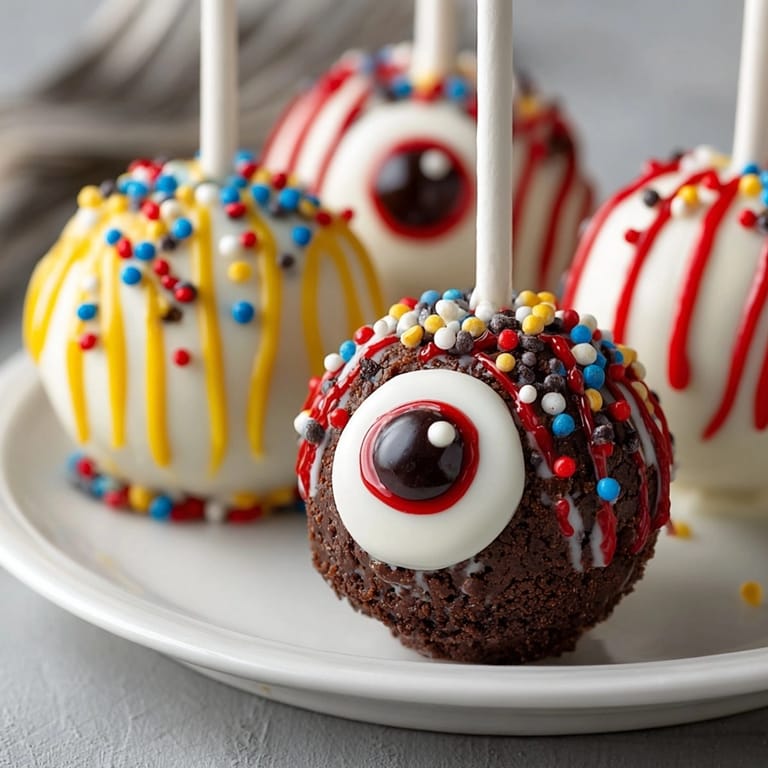
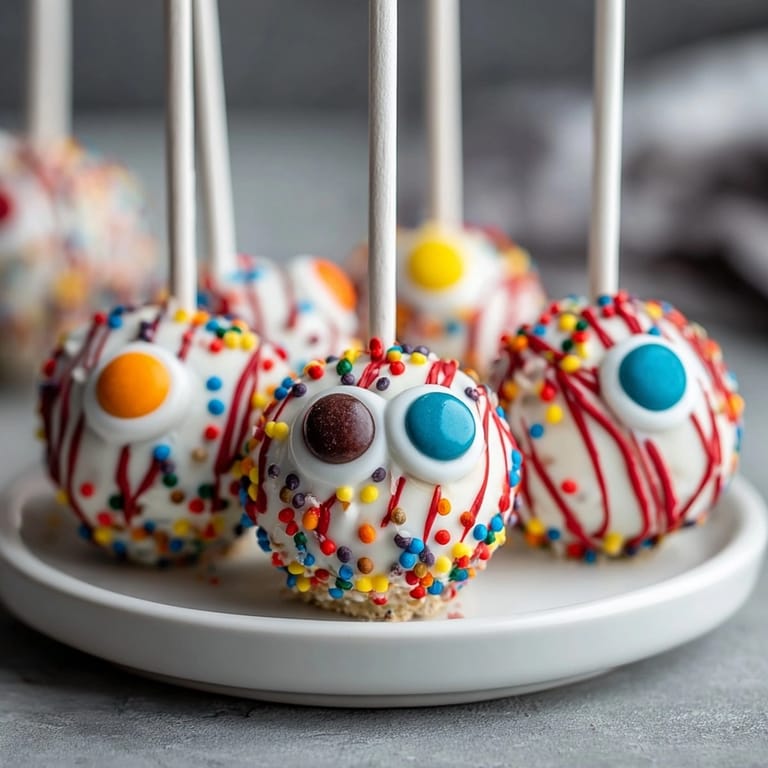
 Devil's Food Cake Pop Eyeballs are pure fun on a stick. This recipe brings together rich chocolate cake creamy frosting and playful decorations to create themed bites that make any Halloween party or dessert spread unforgettable. Every batch turns out deliciously moist cake pops with mischievous googly eyes the kids can decorate however they like.
The first time I made these the kids insisted on drawing wild blue and green irises and adding extra "bloodshot" lines for drama. For gatherings I love how everyone gets involved with decorating no two pops ever look alike.
Ingredients
- All-purpose flour: helps hold everything together and prevents cake pops from crumbling
- Unsweetened cocoa powder: gives devil's food its deep chocolate flavor look for Dutch-processed for a richer taste
- Granulated sugar: makes the cake sweet and helps with moistness
- Unsalted butter: adds a rich flavor and soft texture always use fresh
- Eggs: ensure a bind and airy crumb use large and at room temperature for best volume
- Buttermilk: brings tang and keeps cake moist select fresh for best flavor
- Hot water: boosts cocoa flavor and softens the crumb
- Baking soda and baking powder: help the cake rise and stay fluffy
- Salt: rounds out the sweetness and sharpens flavors
- Vanilla extract: adds classic aroma pick pure vanilla for better taste
- Prepared cream cheese frosting: gives creaminess you can use high-quality store-bought or homemade
- Lollipop sticks: turn cake balls into pops sturdy ones make dipping easier
- White candy melts or chocolate: coat and set well look for glossy finish
- Dark chocolate or brown melts: make the pupil and iris choose smooth melting for sharp designs
- Food coloring gels: give vibrant color a little goes a long way
- Edible marker pens or colored candy melts: help create realistic eyes
- Red decorating gel: adds realistic "bloodshot" effect for extra spookiness
Tired of Takeout? 🥡
Get 10 meals you can make faster than delivery arrives. Seriously.
One email. No spam. Unsubscribe anytime.
Instructions
- Heat the Oven:
- Preheat your oven to 350 degrees Fahrenheit and prep an 8-inch round cake pan by greasing thoroughly and lining the bottom with parchment for easy removal
- Mix Dry Ingredients:
- Whisk flour cocoa powder baking soda baking powder and salt in a bowl breaking up any lumps so the mix is smooth and even
- Cream Butter and Sugar:
- In a large mixing bowl use your mixer to beat the butter with sugar for three to four minutes until fluffy and pale this step makes the cake tender and light
- Incorporate Eggs and Vanilla:
- Add eggs one at a time beating until each is absorbed then stir in vanilla for a fragrant kick
- Combine Wet and Dry Mix:
- Add the dry mixture in batches alternating with buttermilk and mixing gently just to combine without over-beating which ensures the crumb stays soft
- Add Hot Water:
- Slowly blend in hot water until the batter looks silky and pourable this step deepens chocolate flavor so take your time
- Bake:
- Pour the batter into your prepared cake pan and place it in the oven for 25 to 30 minutes test with a toothpick near the center it should come out clean when done cool the cake completely before the next steps
- Crumble and Bind:
- Once the cake is cool break it into fine crumbs in a large bowl and add cream cheese frosting mixing just until the dough clumps together but is not sticky this makes shaping easier
- Shape Cake Pops:
- Take one heaping tablespoon of mixture roll into a smooth ball about one inch across and set onto a parchment-lined tray
- Chill:
- Freeze the cake balls for 20 minutes this firms them up so they keep their shape when dipped
- Prepare the Coating:
- Melt white candy melts or chocolate in a microwave-safe bowl stirring every 30 seconds for even smooth results
- Insert Sticks:
- Dip the tip of each lollipop stick into melted chocolate and push halfway into each cake ball chilling for 10 minutes to set the bond
- Dip and Set:
- Fully submerge each ball in melted chocolate tap gently to let excess fall off and stand pops upright in a foam block to set dry for crisp outer coating
- Decorate:
- When coating has set use colored candy melts edible markers or gel to create the irises and pupils add red gel or food coloring for bloodshot accents let decorations dry before serving or wrapping
 Save to Pinterest
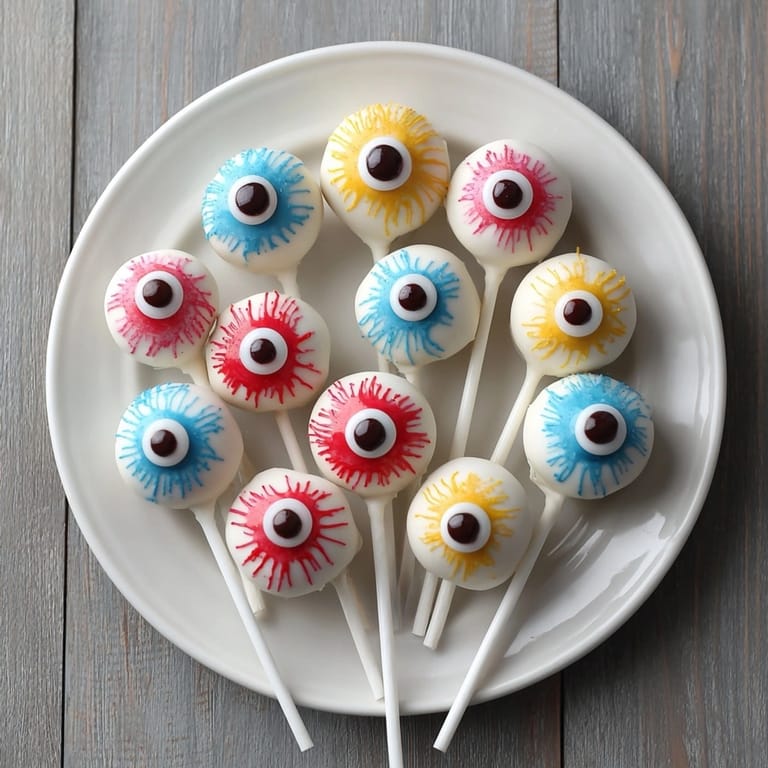
 My favorite part has always been the decorating because my little cousin designs an eyeball with a pink iris every single year. The tradition makes the cake pops even more memorable and fun to share. The balance between deep chocolate and creamy coating truly makes these disappear fast at any get-together.
Storage Tips
Cake pops stay fresh at room temperature for three days when placed in an airtight container. For longer life store in the fridge up to a week and allow to come to room temperature before serving for best texture. Avoid humid spots to keep coating crisp.
Ingredient Substitutions
You can use chocolate or vanilla frosting in place of cream cheese for a completely different flavor profile. Try gluten-free flour blend if serving guests with sensitivities. For candy melts dairy-free versions are available and melt just as smoothly for dipping.
Serving Suggestions
Serve upright in a block for a dramatic party centerpiece. Individually wrap in clear cellophane for trick-or-treat gifts. Pair with a platter of other Halloween treats for a festive dessert table.
Cultural and Historical Context
Cake pops gained popularity in the early internet age as a creative way to use leftover cake crumbs and frosting. Devil's food cake itself dates back over a century as the extra-chocolaty cousin of classic chocolate cake. Decorating cake pops as eyeballs is a modern twist making them playful and perfect for spooky occasions.
Seasonal Adaptations
Switch up gel colors for other holidays green and red for Christmas pastel shades for spring. Add flavors to the frosting like a dash of peppermint or orange extract for seasonal variation. Use dark chocolate or black candy melts for a more haunting effect.
 Save to Pinterest
 These cake pops always draw a crowd. Great make ahead option when party prepping. Easy to adapt for any holiday or theme.