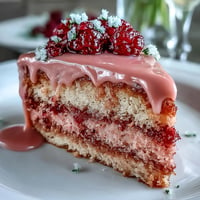
 Save to Pinterest
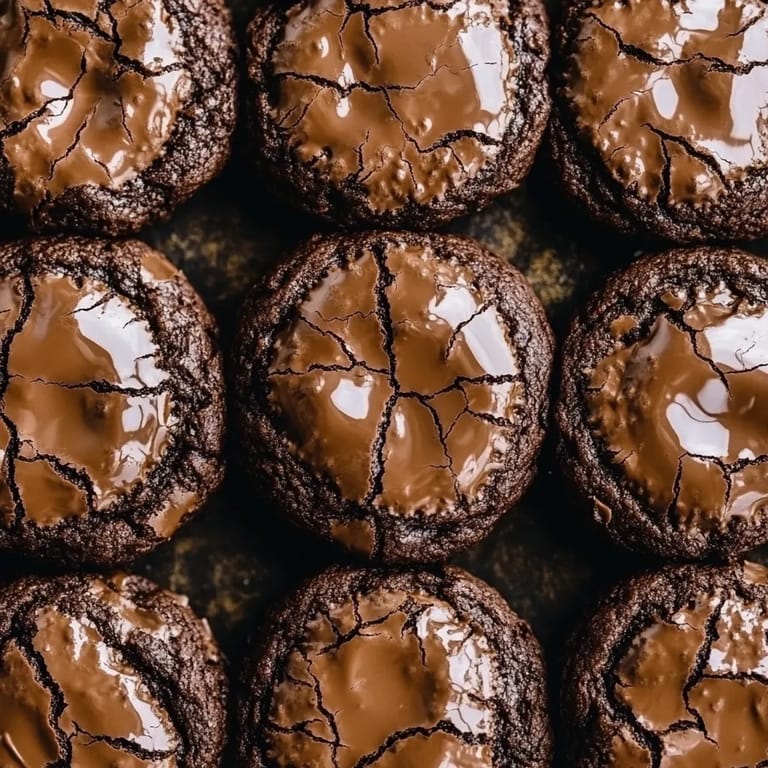
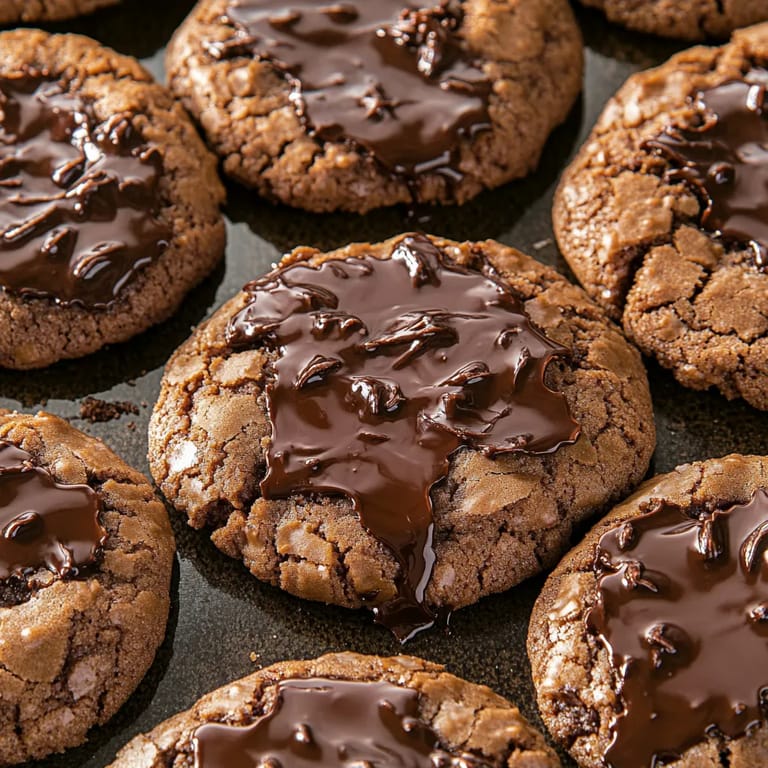
 These chocolate lava cookies are the ultimate treat for anyone who loves a gooey dessert and has a soft spot for that bakery-style shiny cracked top. They look impressive but come together in about half an hour making them perfect for a special occasion or a regular weeknight when you just need something a little extra. Every time I bake these the house smells like pure cocoa and my family hovers around the oven waiting for that first gooey bite.
I first tried making these for my trivia group and they disappeared before the tea was poured. Now it is our go-to for movie nights and celebrations.
Ingredients
- All-purpose flour: gives the cookie structure and a chewy bite look for fine unbleached flour
- Unsweetened cocoa powder: builds deep chocolate flavor and color Dutch-process is less bitter if you have it
- Baking powder: ensures lift so your cookies puff around the gooey center
- Salt: balances sweetness and sharpens chocolate taste try fine sea salt for even seasoning
- Semi-sweet chocolate: chopped for melting rich flavor use a high-quality bar for smoother results
- Semi-sweet chocolate chunks: create that molten lava moment choose good sized pieces for a dramatic melt
- Unsalted butter: tenderizes the dough and carries flavor European style has more butterfat for richness
- Granulated sugar: gives crackly tops and sweetness classic white sugar works best
- Brown sugar: adds caramel notes and extra softness choose dark brown for deeper flavor
- Large eggs: bind everything together and contribute to the shiny tops use them at room temperature
- Vanilla extract: boosts overall flavor real extract over imitation is worth the small splurge
Tired of Takeout? 🥡
Get 10 meals you can make faster than delivery arrives. Seriously.
One email. No spam. Unsubscribe anytime.
Step-by-Step Instructions
- Mix the Dry Ingredients:
- Whisk flour cocoa powder baking powder and salt in a medium bowl until even in color with no lumps
- This step ensures:
- everything rises and flavors are evenly distributed in each bite
- Melt Chocolate and Butter:
- Combine chopped chocolate and butter in a microwave-safe bowl Microwave in thirty second intervals stirring after each until mixture is shiny and smooth then let cool slightly
- Letting it cool:
- just a bit prevents scrambled eggs in the next step
- Combine Wet Ingredients:
- In a large bowl whisk together granulated sugar brown sugar eggs and vanilla extract until the mix looks glossy and smooth Eggs should be fully incorporated with no streaks for the right cookie texture
- Mix Wet and Melted Chocolate:
- Pour in the slightly cooled melted chocolate and butter mixture stir until you do not see any streaks This is when the cookies get their signature fudge appeal
- Add Dry Ingredients:
- Fold the dry mixture into the wet using a spatula stopping as soon as there are no visible dry patches The dough should be thick and just a bit sticky do not overmix to keep them tender
- Chill the Dough:
- Cover the dough with plastic wrap and refrigerate for at least thirty minutes until it is firm This step is crucial for keeping the lava center from leaking out
- Shape and Fill Cookies:
- Preheat your oven to three hundred fifty degrees Fahrenheit and line baking sheets with parchment paper Divide the dough into twelve even pieces flatten each ball place a chocolate chunk in the center then wrap dough securely around the chunk Sealing is important so the chocolate does not escape
- Bake:
- Arrange dough balls on prepared trays spaced two inches apart Bake for ten to twelve minutes just until the edges are set and the tops crackle The centers will look underbaked but this is the secret to that molten middle
- Cool and Serve:
- Let cookies cool on the tray for five minutes so they firm up enough to move Transfer to a wire rack and serve warm for lava magic
 Save to Pinterest
 My favorite part is the first bite when the warm chocolate lava oozes out. Last Christmas my nephew called me a wizard for making these and now he asks for them every family gathering. I secretly love dusting them with powdered sugar and watching everyone’s eyes light up.
Storage Tips
Store leftover cookies in an airtight container at room temperature for up to three days. If you want to preserve that gooey center microwave a cookie for ten seconds before enjoying. Dough balls can also be made ahead and kept refrigerated overnight just add an extra minute to the bake time if chilled.
Ingredient Substitutions
You can swap bittersweet chocolate for semi-sweet for a deeper cocoa punch. If you need them dairy free try a plant-based butter and dairy-free chocolate brand although the texture may differ slightly. Gluten-free all-purpose flour typically works for this recipe but taste and structure will change.
Save to Pinterest Serving Suggestions
Serve these cookies just as they are or with a scoop of vanilla ice cream for contrast. A fresh raspberry or a sprinkle of flaky sea salt on top will highlight the chocolate even more. These also make great edible gifts—wrap in parchment and nestle in a tin for a special delivery.
Common Recipe Questions
- → How can I achieve a gooey lava center?
Ensure not to overbake and use a chunk of chocolate inside each dough ball. Serve the cookies warm for a molten center.
- → Can the dough be made ahead of time?
Yes, you can refrigerate the shaped dough balls for up to 24 hours before baking for even better texture.
- → Is it necessary to use high-quality chocolate?
High-quality chocolate enhances both flavor and texture, making a big difference in the final result.
- → What’s the best way to reheat cookies for a lava effect?
Microwave cooled cookies for 10-15 seconds to restore a gooey, molten center before enjoying.
- → How should these cookies be served?
Serve warm with an optional dusting of powdered sugar for an extra-special dessert experience.