 Save to Pinterest
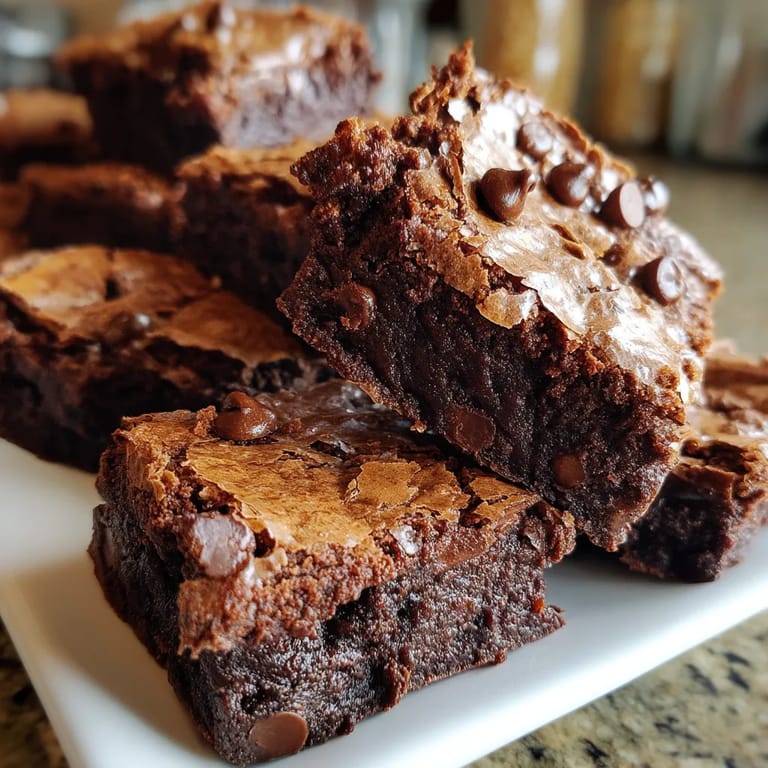
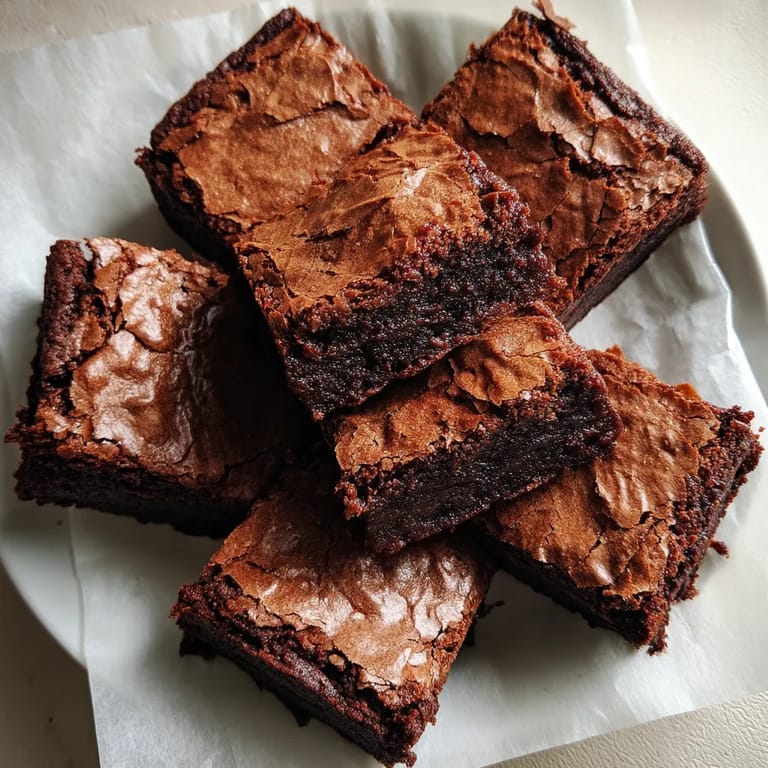
 These fudgy brownies deliver that perfect chocolate fix with their rich, dense texture and intense chocolate flavor. Each bite melts in your mouth with a perfect balance of sweetness and deep cocoa notes that will satisfy even the most dedicated chocolate enthusiasts.
I first made these brownies for my daughter's birthday when the bakery canceled last minute. They were such a hit that store-bought brownies were permanently banned from our house. Three years later, they remain our go-to chocolate indulgence.
Ingredients
- 1/2 cup unsalted butter the foundation of flavor that creates richness and moisture
- 6 oz semisweet chocolate provides the intense chocolate flavor backbone choose high quality for best results
- 1 cup granulated sugar balances the chocolate creating the perfect sweetness level
- 2 large eggs adds structure and contributes to that shiny crackled top
- 1 tsp vanilla extract enhances and deepens the chocolate flavor
- 2/3 cup allpurpose flour just enough for structure without making brownies cakey
- 1/4 cup unsweetened cocoa powder intensifies the chocolate flavor use Dutch process for deeper color
- 1/4 tsp salt activates flavor and cuts sweetness
- 1/2 cup chocolate chips optional creates melty pockets throughout use chunks for bigger melty spots
- 1/2 cup chopped walnuts or pecans optional adds textural contrast and nutty flavor
Tired of Takeout? 🥡
Get 10 meals you can make faster than delivery arrives. Seriously.
One email. No spam. Unsubscribe anytime.
Step-by-Step Instructions
- Preparation
- Preheat oven to 350°F and line your 8×8inch baking pan with parchment paper leaving overhang for easy removal. The parchment ensures perfect release every time without broken brownies.
- Melt Chocolate and Butter
- Combine butter and chopped chocolate in a microwave safe bowl and heat in 20second intervals stirring between each until completely smooth and glossy. Be patient here as overheating can cause the chocolate to seize and ruin the texture.
- Incorporate Sugar
- Add sugar to the warm chocolate mixture and whisk until fully combined. Continue stirring until slightly cooled about 2 minutes this prevents the eggs from cooking when added next.
- Add Eggs and Vanilla
- Pour in eggs and vanilla extract then whisk vigorously for a full 2 minutes. This step is crucial for developing that shiny crackly top that defines perfect brownies. The mixture should become noticeably thicker and glossier.
- Add Dry Ingredients
- Sift flour cocoa powder and salt directly into the bowl then fold gently with a spatula until just combined. Stop the moment you no longer see dry streaks overfolding develops gluten resulting in tough brownies.
- Add Mix-ins
- If using chocolate chips or nuts fold them in with just 3-4 gentle strokes to distribute evenly. For chocolate lovers reserve a handful to sprinkle on top before baking.
- Bake to Perfection
- Pour batter into prepared pan spreading evenly to corners then bake for exactly 25 minutes for maximum fudginess or 30 minutes for slightly more structure. The center should still be slightly soft when tested with a toothpick.
- Cool Completely
- Allow brownies to cool in the pan for at least 1 hour. This resting period completes the cooking process and firms the texture for clean cutting. For best results refrigerate for 30 minutes before slicing.
 Save to Pinterest
 The unsweetened cocoa powder is my secret weapon in this recipe. I discovered by accident that sifting it rather than just dumping it in makes a remarkable difference in texture. My husband now jokes that he can tell when I skip this step which I never do anymore.
The Perfect Texture Secret
The key to achieving that ideal fudgy texture lies in the ratio of fat to flour. This recipe intentionally uses less flour than cakey versions which creates that dense meltinyourmouth consistency chocolate lovers crave. The other critical factor is baking time. Even one minute too long can push these brownies from fudgy to cakey. When in doubt always underbake slightly as they continue cooking after removal from the oven.
Storage and Freshness
These brownies actually improve with time as flavors meld. Store them in an airtight container at room temperature for up to 3 days for best texture. For longer storage refrigerate up to one week though the texture becomes denser when chilled. Let refrigerated brownies come to room temperature before serving for optimal flavor. For long term storage wrap individual squares in plastic wrap then place in a freezer bag where they'll keep for 3 months. Thaw overnight in the refrigerator.
Variations to Try
Transform these classic brownies by experimenting with different mix-ins and toppings. Swirl in 1/4 cup peanut butter before baking for a delicious flavor combination. Add 1/2 teaspoon espresso powder to the dry ingredients to enhance the chocolate flavor without adding coffee taste. For mint lovers mix in 1/4 teaspoon mint extract and top with crushed peppermint candies after baking. During fall stir in 1/4 teaspoon cinnamon and a pinch of cayenne for Mexican chocolate brownies with subtle warmth.
Serving Suggestions
While these brownies are perfect on their own they become an extraordinary dessert when warmed slightly and topped with vanilla ice cream. The contrast between warm brownie and cold ice cream creates texture magic. For dinner parties cut into smaller pieces and arrange on a platter with fresh berries and mint leaves. Create a brownie sundae bar with various toppings like caramel sauce whipped cream chopped nuts and cherries letting guests customize their dessert experience.
Save to Pinterest Common Recipe Questions
- → How do I know when the brownies are perfectly done?
Insert a toothpick into the center - it should come out with a few moist crumbs attached, not wet batter. For extra fudgy brownies, aim for the shorter end of the baking time (closer to 25 minutes). Remember that brownies continue cooking slightly as they cool in the hot pan.
- → Can I make these brownies without nuts?
Absolutely! The nuts are listed as an optional add-in. You can either omit them completely or substitute with additional chocolate chips, white chocolate chunks, or even swirl in some caramel or peanut butter for different flavor variations.
- → How should I store these brownies?
Once completely cooled, store in an airtight container at room temperature for up to 3-4 days. For longer storage, wrap individual brownies in plastic wrap and freeze for up to 3 months. Thaw at room temperature or microwave for 15-20 seconds for a warm treat.
- → Why do my brownies need to cool completely before cutting?
Cooling allows the chocolate to set properly, which gives you clean cuts and helps develop the fudgy texture. Hot brownies are very soft and can fall apart when cut. For extra neat slices, refrigerate the cooled brownies for 30 minutes before cutting with a warm, sharp knife.
- → Can I double this brownie recipe?
Yes, you can double the recipe and bake in a 9×13-inch pan. The baking time will need to be adjusted - start checking around 30-35 minutes. Be careful not to overbake, as this will result in cakey rather than fudgy brownies.
- → How can I make these brownies dairy-free?
Substitute the butter with a plant-based butter alternative and use dairy-free chocolate chips. Many semi-sweet chocolate brands are naturally dairy-free, but always check the ingredients list. These substitutions typically work very well without significantly altering the texture.