 Save to Pinterest
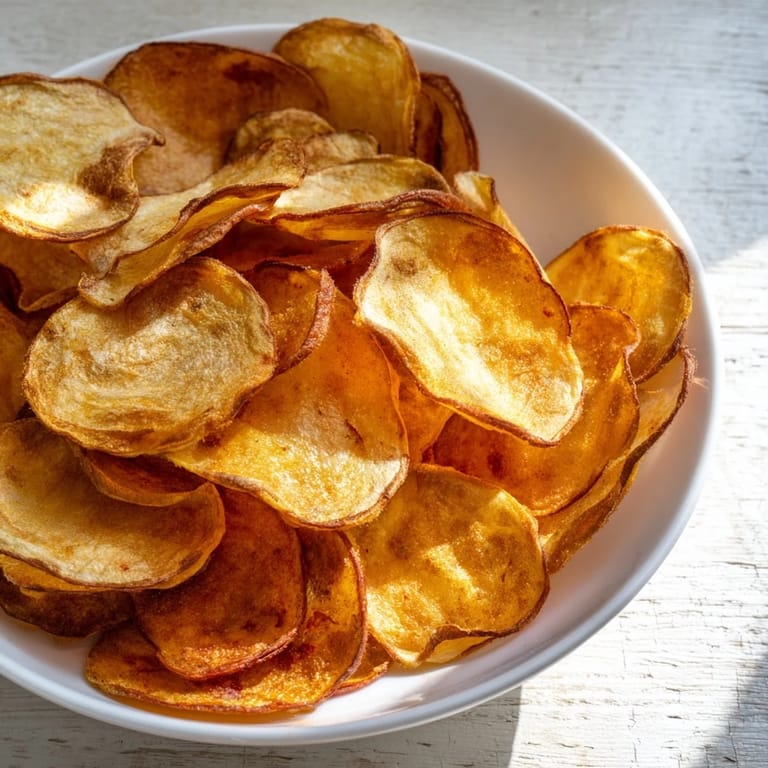
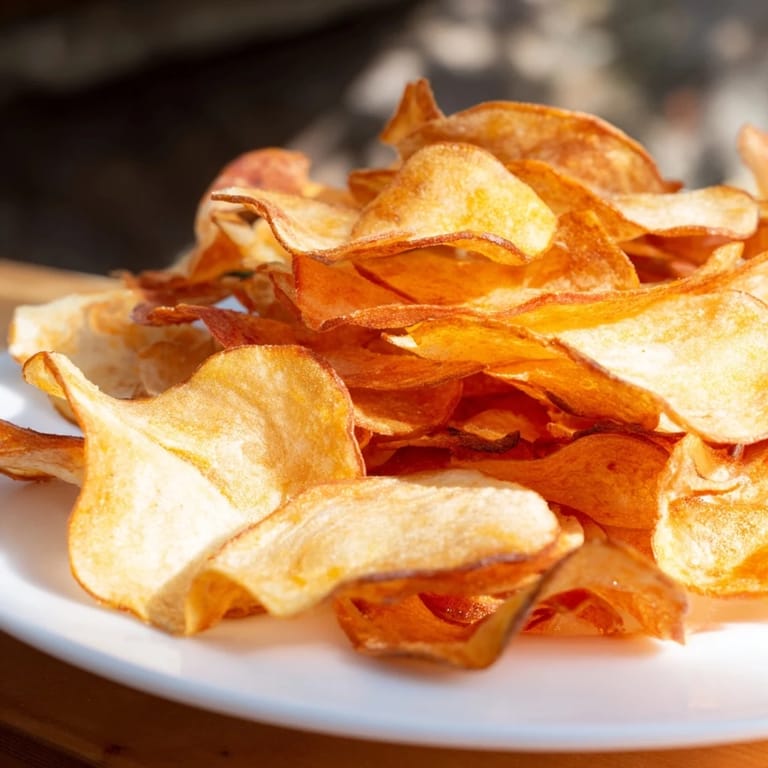
 I bought an air fryer on a whim during a sale, mostly to see if the hype was real. The first thing I tried was potato chips because I figured if it could nail something that simple, it might actually be worth the counter space. I sliced the potatoes too thick, didn't dry them enough, and ended up with soggy, pale discs that tasted like disappointment. But I tried again the next day, this time thinner and bone-dry, and when I pulled out that first batch—golden, crackling, still hissing with heat—I actually laughed out loud.
I made these for a movie night once, just tossed them in a big wooden bowl with a little smoked paprika and flaky salt. My friend kept reaching for more without looking away from the screen, and by the end of the night the bowl was empty and her fingers were stained orange. She asked if I'd bought them from some fancy gourmet shop, and I just grinned and said I had a mandoline and twenty minutes.
Ingredients
- Russet potatoes: Their high starch content makes them crisp up beautifully, and their size means fewer slices to wrangle.
- Olive oil: Just enough to help the seasoning stick and encourage browning without making the chips greasy.
- Fine sea salt: Dissolves quickly and clings to every curve of the chip, so you get seasoning in every bite.
- Black pepper: Adds a subtle warmth that plays well with the natural sweetness of the potato.
- Smoked paprika: This is my secret weapon for depth, it gives the chips a campfire edge that keeps people guessing.
Tired of Takeout? 🥡
Get 10 meals you can make faster than delivery arrives. Seriously.
One email. No spam. Unsubscribe anytime.
Instructions
- Prep the potatoes:
- Scrub them under cold water to get rid of any dirt, then decide if you want to peel them or leave the skin on for extra texture. Slice them as thin as you can manage, aiming for that delicate, see-through thickness that crisps instead of bends.
- Soak and dry:
- Submerge the slices in cold water and let them sit for ten minutes to pull out the starch that would otherwise make them gummy. Pat them completely dry with paper towels, like you're trying to erase every drop of moisture.
- Season:
- Toss the dry slices in a bowl with the oil, salt, and any spices you're using, making sure every piece gets a light, even coat. Your hands work best for this, just get in there and mix gently.
- Preheat and arrange:
- Let the air fryer warm up for a few minutes, then lay the slices in a single layer without overlapping. If you crowd them, they steam instead of crisp, so work in batches and be patient.
- Cook and flip:
- Let them cook for eight minutes, then shake the basket or flip each slice with tongs so they brown evenly. Give them another six to eight minutes, watching closely toward the end because they go from golden to burnt fast.
- Cool and repeat:
- Transfer the finished chips to a wire rack and let them sit for a minute or two, they'll harden as they cool. Keep going with the next batch until you've used up all the slices.
 Save to Pinterest
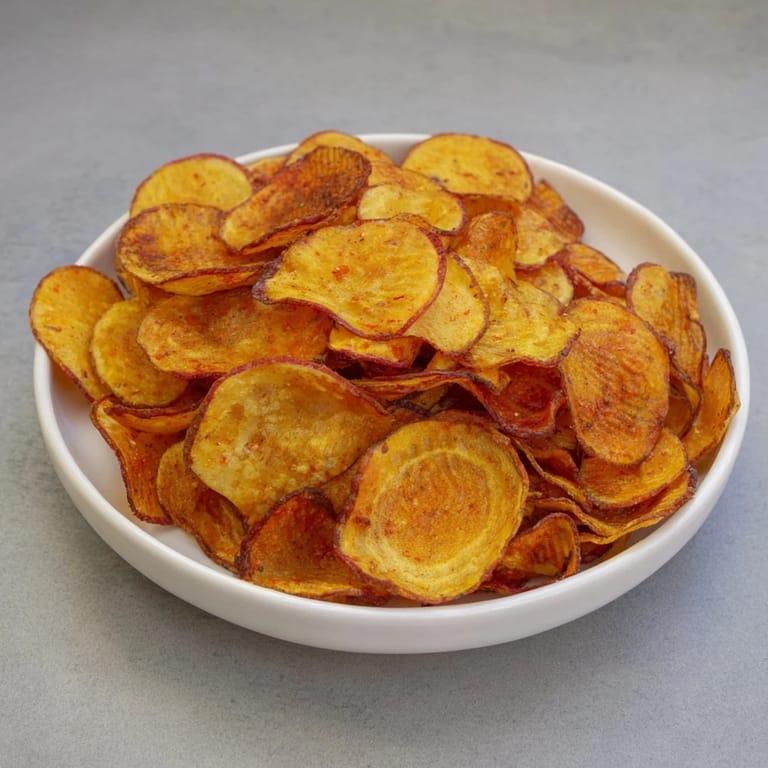
 There was an afternoon when I made a triple batch of these and packed them into little paper bags tied with twine, just because I felt like giving my neighbors something homemade. One of them told me later that her kids devoured them in the car on the way to soccer practice, fighting over the last few crumbs. That made me happier than any compliment about my cooking ever could.
Choosing Your Potatoes
Russets are my go-to because they crisp up with that satisfying crackle, but Yukon Golds work too if you want a creamier, slightly buttery flavor. I've tried red potatoes once and they came out fine, just a little waxier and less shatteringly crisp. Whatever you pick, make sure they're firm and free of green spots or sprouts.
Seasoning Ideas
Once you've nailed the basic salt and pepper version, start experimenting with garlic powder, onion powder, chili flakes, or even a pinch of sugar for a sweet and salty twist. I've done a batch with nutritional yeast and dried herbs that tasted like fancy restaurant chips, and another with cinnamon and a tiny bit of brown sugar that my niece couldn't stop eating. The air fryer doesn't judge, so get weird with it.
Storing and Serving
These chips taste best within an hour of making them, when they're still warm and crackling. If you need to store leftovers, let them cool completely and then seal them in an airtight container with a folded paper towel at the bottom to absorb any moisture. They'll stay crisp for a day or two, but honestly, they never last that long in my house.
- Serve them in a big bowl with a side of homemade ranch or spicy ketchup for dipping.
- Pack them in lunchboxes or take them on road trips, they travel better than you'd think.
- If they do go a little soft, you can revive them with a quick two-minute blast in the air fryer.
 Save to Pinterest
 Making your own chips at home is one of those small victories that feels bigger than it should, like you've cracked a code that was hiding in plain sight. I hope your first batch turns out perfect, and if it doesn't, I hope you try again anyway.
Common Recipe Questions
- → What potato types work best for air fryer chips?
Russet potatoes yield crispy chips due to their high starch content, but Yukon Gold also works well for a creamier texture.
- → Why soak potato slices before cooking?
Soaking removes excess starch, which helps achieve a crisper texture and prevents chips from sticking together.
- → Can I use other seasonings besides salt and paprika?
Yes, garlic powder, chili powder, or your favorite spice blend can be added before air frying for extra flavor.
- → How thin should I slice the potatoes?
Slices about 1.5 mm thick are ideal; using a mandoline ensures even thinness and consistent crispiness.
- → How do I store leftover chips?
Once fully cooled, store chips in an airtight container for up to 2 days to maintain freshness and crunch.
- → Is peeling potatoes necessary?
Peeling is optional; skin adds texture and nutrients, but thinly sliced skin-on chips will still crisp well.