 Save to Pinterest
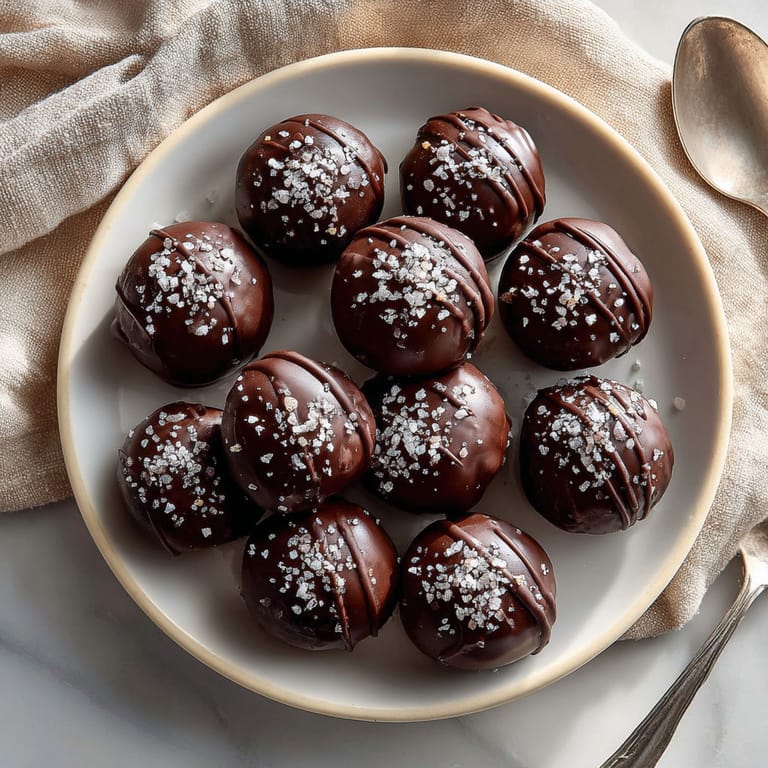
 Chocolate Peanut Butter Truffles are the secret weapon I pull out when I want something that feels fancy but comes together in no time. With just a handful of ingredients you probably have on hand these chocolatey bites satisfy every sweet tooth and make dessert feel effortless. Perfect for last-minute parties or a cozy night in these truffles are hard to stop at just one.
The very first time I made these it was a rainy afternoon I was craving something sweet but had nothing but basics in the kitchen. That batch disappeared before dinner and now my family begs me to make them every holiday season.
Ingredients
- Creamy peanut butter: Look for one with just peanuts and perhaps a pinch of salt for better flavor. The creamier the better so you get a smooth truffle center. If using natural peanut butter stir well before measuring.
- Honey or pure maple syrup: For sweetness and to help the filling stay soft and chewy. Maple syrup gives them a subtle caramel note.
- Sea salt: Only a pinch elevates both the peanut flavor and chocolate. Taste your peanut butter first as saltiness varies.
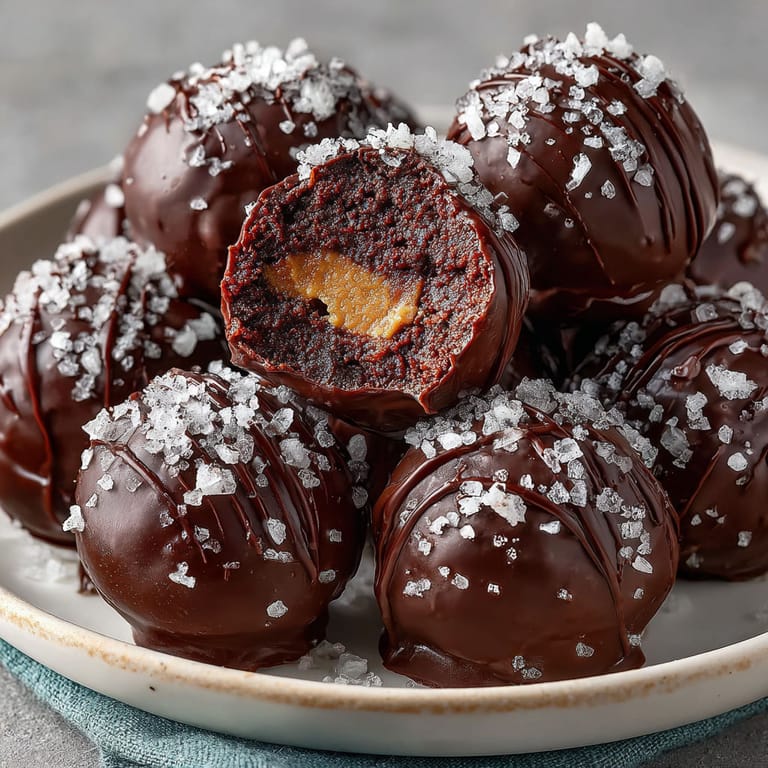
- Dark chocolate: Use quality chocolate bars or chips with at least 60 percent cocoa for intense flavor. Melt it gently for the best dipping texture.
Tired of Takeout? 🥡
Get 10 meals you can make faster than delivery arrives. Seriously.
One email. No spam. Unsubscribe anytime.
Instructions
- Make the filling:
- In a medium mixing bowl blend peanut butter honey and a pinch of salt together until completely smooth and thick. The mixture should hold its shape easily when pressed.
- Shape the truffles:
- Using a spoon scoop out teaspoon sized portions. Roll each portion between your palms to form a smooth ball. If mixture is sticky chill for a few minutes before rolling.
- Melt the chocolate:
- Place chopped dark chocolate in a heatproof bowl over barely simmering water or heat in short microwave bursts stirring until glossy and fully melted. Work slowly to avoid scorching.
- Coat the truffles:
- Using a fork or dipping tool lower each peanut butter ball into the melted chocolate. Turn gently so it is fully coated then lift out letting excess chocolate drip off. Place on a parchment lined tray.
- Chill and finish:
- Once all truffles are coated transfer the tray to your refrigerator and chill for at least twenty minutes or until the chocolate is set. Serve straight from the fridge for best texture.
 Save to Pinterest
 My kids always fight over who gets the last truffle. I am partial to the deep flavor that comes from good quality dark chocolate and the joy of handing out homemade treats at family gatherings always makes these special.
Storage Tips
Keep truffles stored in an airtight container placed in the refrigerator and they will stay fresh and delicious all week. Set them out for about ten minutes before serving for a silkier texture. You can also freeze them for up to two months. Just thaw in the fridge before enjoying.
Ingredient Substitutions
If peanut butter is not an option use almond butter or sunflower seed butter. These work great and are perfect for different tastes or allergies as long as peanut allergies are not a factor. For the chocolate choose any intensity you like but dark gives the most striking contrast.
Serving Suggestions
These truffles look gorgeous when sprinkled with a touch of flaky salt or crushed peanuts before the chocolate sets. Stack them in a pretty box with parchment paper for a lovely handmade gift. They are a hit at holiday tables or as party favors.
Cultural or Historical Context
Chocolate and peanut butter have a beloved place in American desserts from classic candies to homemade innovations like these truffles. Their marriage of sweet and salty is timeless and always welcomed at potlucks and picnics.
Seasonal Adaptations
Stir in a hint of cinnamon or pumpkin spice during fall for an autumn twist. Top with colored sprinkles to match holidays or celebrate special occasions. Mix in a scoop of coconut flakes to echo summer treats.
Success Stories
Every year someone requests the recipe without fail and I have even made these as teacher gifts wrapped up with a hand written tag. Once I tried a batch with crunchy peanut butter for extra texture and they disappeared instantly. These truffles are a surefire way to turn a handful of pantry items into dessert magic.
Freezer Meal Conversion
These truffles handle freezing beautifully. Simply arrange in a single layer then freeze until firm before transferring to a sealed bag or container. They stay delicious for weeks and make it easy to keep a sweet bite ready for any occasion.
Save to Pinterest Truffles like these will earn you rave reviews and disappear in a flash. Enjoy sharing this simple treat with the people you love.
Common Recipe Questions
- → How do I prevent the chocolate from seizing when melting?
Melt chocolate gently using a double boiler or microwave in short bursts, stirring frequently to avoid water contact and overheating.
- → Can I substitute almond butter for peanut butter?
Yes, almond butter works as a substitute and provides a slightly different nutty flavor and texture.
- → How do I achieve perfectly round truffles?
Chill the peanut butter mixture slightly before rolling and use a small scoop for uniform balls.
- → Are these suitable for those avoiding gluten?
Yes, all ingredients used are naturally gluten-free, making this dessert suitable for gluten-free diets.
- → What is the best way to store finished truffles?
Store truffles in an airtight container in the refrigerator and enjoy within one week for best freshness.
- → Can I use milk chocolate instead of dark chocolate?
Milk chocolate can be used for a sweeter finish, although it will slightly alter the flavor profile.