 Save to Pinterest
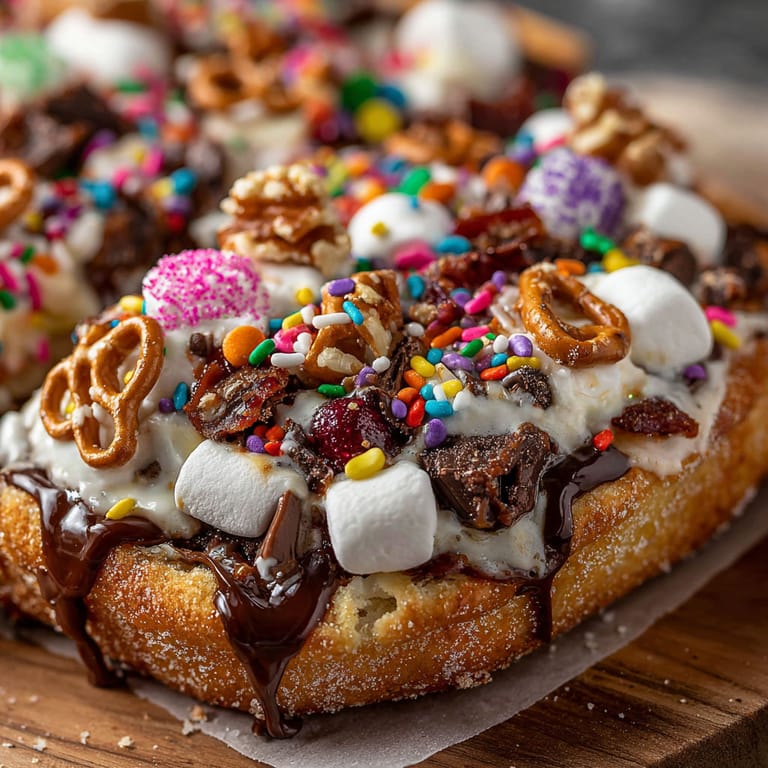
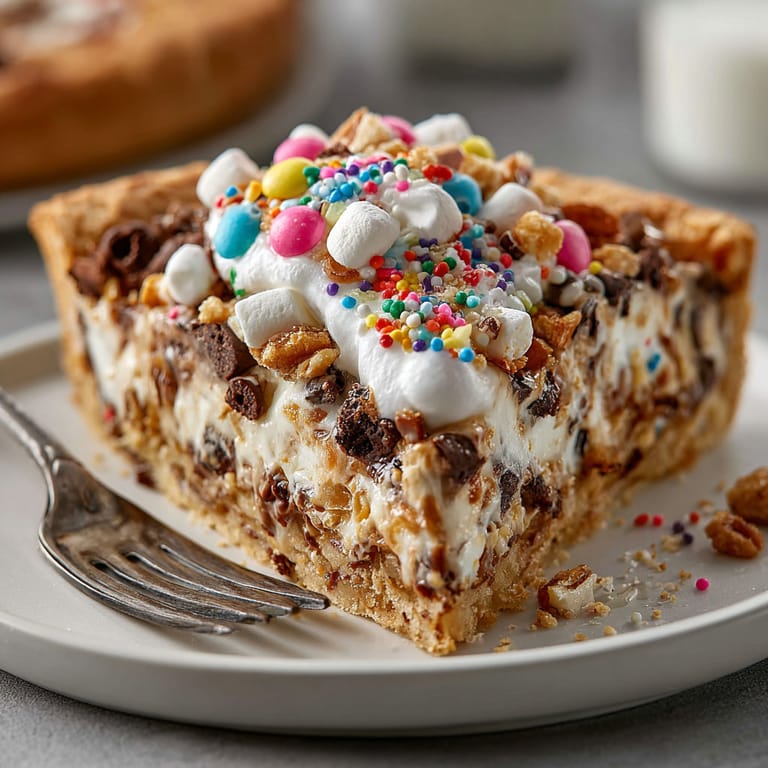
 Chaos Cookie Pizza is the ultimate shareable dessert that turns a classic chewy cookie into a party-ready pie topped with a medley of sweet and salty treasures. It is a family favorite when we want to clear out the last bits of candies and snacks and the results are never the same twice. Every slice feels like finding a surprise prize.
I love how this recipe turns leftovers into a centerpiece dessert. My nieces love tossing on their favorite toppings and it is the only way we all agree on dessert.
Ingredients
- Unsalted butter: Softened for easy mixing and contributes richness and tenderness to the base look for fresh butter with no lingering odor
- Granulated sugar: For sweetness and contributing to the chewy texture use a fine white sugar for smooth incorporation
- Brown sugar: Adds moisture and a caramel note always pack it firmly to get the right measurement
- Large eggs: Bind the dough while making it light look for eggs with firm whites for best results
- Vanilla extract: Provides a sweet aroma and balances all the flavors pure vanilla gives the richest taste
- All-purpose flour: The backbone of the cookie use an unbleached variety for best structure
- Baking soda: Leavens the dough and prevents heaviness make sure it is fresh for a reliable rise
- Salt: Balances sweetness and sharpens flavors opt for fine sea salt for even seasoning
- Random toppings: Your choice from chocolate chips to pretzels to dried fruit be creative but stick to about two cups total. Choose chocolate of good quality mini marshmallows for gooeyness crunchy salted pretzels for contrast fresh nuts for texture sprinkles or toffee for fun color and flavor and dried fruit for a bit of tartness
Tired of Takeout? 🥡
Get 10 meals you can make faster than delivery arrives. Seriously.
One email. No spam. Unsubscribe anytime.
Instructions
- Prepare the Oven:
- Preheat oven to three hundred fifty degrees Fahrenheit or one hundred seventy five degrees Celsius. Line a twelve inch pizza pan or use a large baking sheet with parchment paper. This keeps the cookie from sticking and makes cleanup simple.
- Cream the Butter and Sugars:
- In a large mixing bowl beat softened butter with granulated and brown sugars for about three to five minutes until pale and very fluffy. Use an electric mixer for the best texture.
- Add Eggs and Vanilla:
- Add eggs one at a time beating well after each addition. Stir in the vanilla extract so it distributes evenly into the dough.
- Mix the Dry Ingredients:
- In a separate bowl whisk together the flour baking soda and salt. Whisk really well so the leavening and salt are throughout the flour.
- Combine Wet and Dry:
- Gradually mix the dry ingredients into the butter mixture. Stir just until no streaks of dry flour remain. Do not overmix or the cookie base could get tough.
- Shape the Base:
- Press the dough evenly onto your prepared pizza pan. Aim for about one half inch thick all over. Pat gently with your hands or use a spatula to smooth the surface and press more dough toward the edges if they look thin.
- Add Toppings:
- Sprinkle your selection of random toppings evenly across the dough and gently press down with your hands so they stick. Press in big chunks slightly so they will not fall off when you slice later.
- Bake the Cookie Pizza:
- Bake for sixteen to eighteen minutes. Watch for the edges to turn light golden while the center stays slightly soft. This ensures a chewy not dry base.
- Cool Before Slicing:
- Allow the pizza to cool on the pan for at least ten minutes. This helps it hold its shape when slicing and serving.
 Save to Pinterest
 The contrast between the chewy cookie and the crunchy or melty toppings has made this a birthday sleepover request in my house for years. The vanilla cookie base brightens up even the funkiest topping combos.
Storage Tips
Once cooled store slices in an airtight container at room temperature for up to four days. For longer keeping wrap well and freeze individual slices for up to one month. Thaw at room temperature and refresh with ten seconds in the microwave for a just baked taste.
Ingredient Substitutions
Dairy free margarine or coconut oil can be used in place of butter for those with dairy allergies. For gluten free needs a measure for measure gluten free flour blend works well. If you want to skip eggs use a commercial egg replacer for best texture.
Serving Suggestions
Serve plain for a sweet snack or go all out with a scoop of ice cream on top. Drizzle melted chocolate or caramel for an extra treat. For parties set out bowls of toppings and let everyone finish their own slice.
Cultural Snapshot
Dessert pizzas became popular in American pizzerias in the late twentieth century but homemade versions have made their way into potlucks and family gatherings. Chaos cookie pizza spins this trend by using classic cookie dough as a base and letting creativity take the wheel.
Seasonal Adaptations
Switch to peppermint chips and crushed candy canes during winter holidays. Use pastel colored sprinkles and candies for spring events. Try dried cranberries and spiced nuts for autumn flavor.
Success Stories
This recipe has helped my friends’ kids get involved in baking and pick their favorite flavor combinations. We once made a double batch with everyone bringing something random from their pantry which turned into a new family reunion tradition.
Freezer Meal Conversion
You can turn this into a freezer dessert by pressing the cookie dough onto a parchment lined pan and freezing unbaked. Once solid wrap well and freeze for up to one month. To bake simply add a few extra minutes to the cooking time.
Save to Pinterest This chaos cookie pizza is endlessly customizable and always a crowd-pleaser. Every time you bake one it becomes a fresh new creation to share.
Common Recipe Questions
- → Can I use different toppings?
Absolutely! Mix and match any sweet or salty toppings you love, like candies, pretzels, or dried fruits.
- → How thick should the cookie base be?
Press the dough to about 1/2 inch thick on your pizza pan for an even, chewy texture after baking.
- → Do I need a pizza pan?
No, a large baking sheet lined with parchment works great if you don't have a pizza pan available.
- → How do I store leftovers?
Keep slices in an airtight container at room temperature for up to three days to maintain freshness.
- → Can this be made gluten-free?
Yes, use a 1:1 gluten-free flour blend in place of regular flour for a delicious gluten-free option.
- → What allergens are in this dessert?
Contains wheat, eggs, dairy, and possibly nuts. Always check topping labels for potential allergens.