 Save to Pinterest
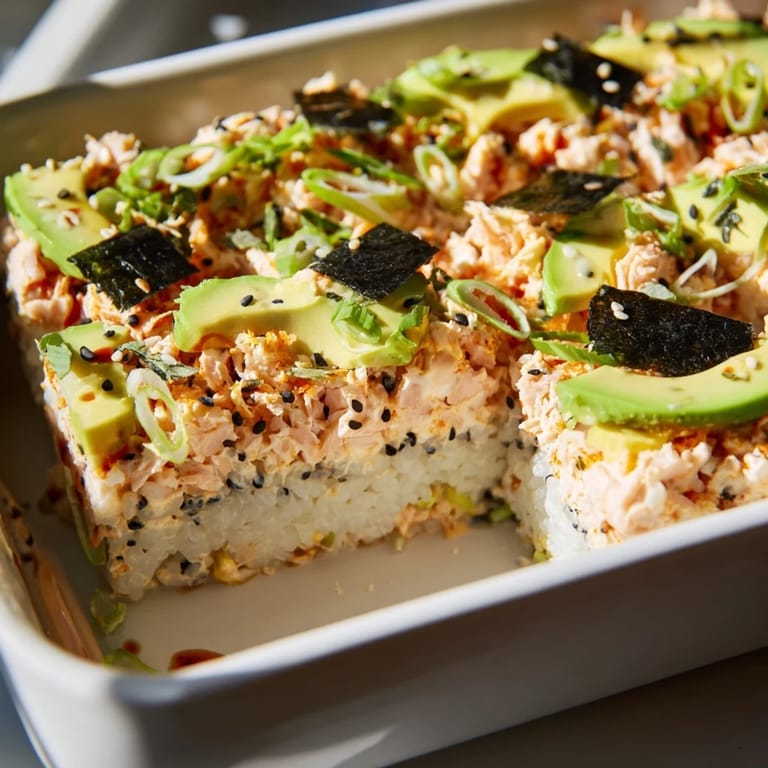
 The first time I made sushi bake, I was standing in my kitchen on a random Tuesday evening, craving that familiar comfort of sushi but without the precision that rolling requires. My hands aren't steady enough for neat rolls, and honestly, I'd burned myself with the blowtorch trying to make torched salmon nigiri the week before. Then it hit me: what if I just layered everything like a casserole and let the oven do the work? Thirty minutes later, I pulled out this golden, creamy dream that tasted like the sushi restaurant down the street but felt entirely mine.
I made this for my best friend's dinner party when she casually mentioned she missed sushi but her new apartment had a tiny kitchen. Watching her face when she took the first bite, then immediately asking for the recipe before she'd even finished chewing, told me everything. Her partner had seconds. Her mom, who was visiting, asked if I could teach her to make it before the night ended.
Ingredients
- Sushi rice: The foundation of everything—I learned the hard way that regular rice just won't hold the seasoning the same way, and rinsing it truly matters because that starch layer changes the texture.
- Rice vinegar, sugar, and salt: This trio is what transforms plain rice into something that tastes alive; don't skip the step of mixing them together first or the salt won't dissolve evenly.
- Salmon fillet: I use skinless because it layers better, and I've found that a thicker cut (around 1.5 inches) stays moist inside while the edges get slightly crispy.
- Soy sauce and sesame oil: These season the salmon before baking, creating a subtle umami base that makes the whole dish taste more intentional.
- Cream cheese and Kewpie mayo: Kewpie is sweeter and richer than regular mayo—it makes an actual difference in the creamy layer, making it taste more luxurious than it has any right to.
- Sriracha: Optional, but I add it because a whisper of heat makes everything taste more interesting and complex.
- Avocado: Slice it just before serving or it browns and loses that fresh appeal; I keep the pit in one half and cover it with plastic wrap if I'm not using both at once.
- Nori sheets: Cut them into small squares by stacking and slicing; they stay crispier this way than if you tear them by hand.
- Toasted sesame seeds: These add a nutty finish and textural contrast that somehow ties the whole dish together.
- Spring onions: A bright, sharp finish that cuts through the richness and reminds you this is fresh food, not just comfort.
Tired of Takeout? 🥡
Get 10 meals you can make faster than delivery arrives. Seriously.
One email. No spam. Unsubscribe anytime.
Instructions
- Prepare the rice foundation:
- Rinse your sushi rice under cold running water, stirring gently with your fingers until the water runs almost clear—this takes patience but removes the starch that would make it gluey. Combine with water in a saucepan, bring to a boil, cover, and let it simmer low for 15 minutes while you prep everything else.
- Season while warm:
- While the rice is still steaming, mix rice vinegar, sugar, and salt in a small bowl until the sugar dissolves, then stir it into the hot rice with a fork, being gentle so you don't mash the grains. Spread the seasoned rice evenly into your greased baking dish, pressing down slightly so it holds together.
- Bake the salmon:
- Place your salmon fillet on parchment paper, brush it with soy sauce mixed with sesame oil, and sprinkle with black pepper—you want it looking intentionally seasoned, not just randomly sprinkled. Bake at 400°F for 12 to 15 minutes until it flakes easily with a fork and the thickest part is opaque.
- Build the creamy layer:
- While salmon cooks, soften your cream cheese to room temperature so it blends smoothly with mayo, then fold in the flaked salmon gently to keep some texture. This mixture should look creamy but studded with salmon pieces, not homogeneous.
- Assemble and warm:
- Spread the salmon cream cheese mixture evenly over your rice layer, then slide the whole thing back into the oven for 10 minutes until the edges just begin to color and the casserole is heated through. You're not trying to brown it heavily—just warm it enough that the layers meld slightly.
- Top and serve:
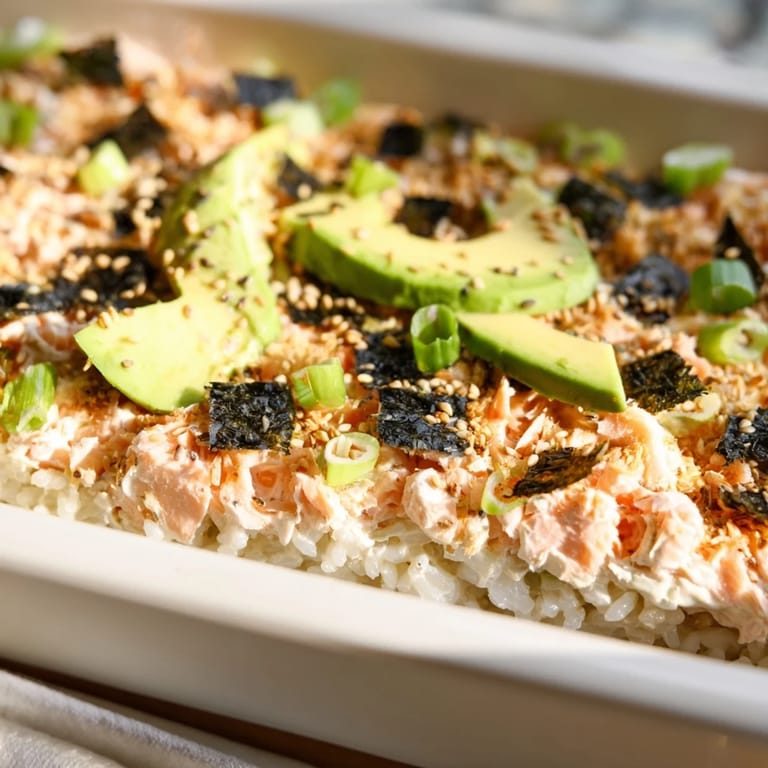
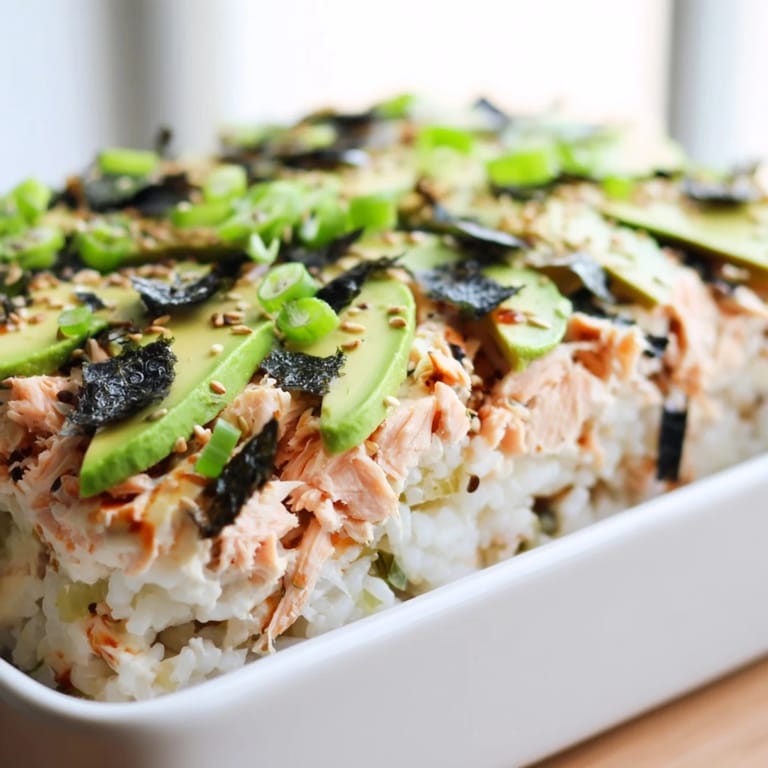
- Let it cool for just a minute, then add your sliced avocado, nori squares, sesame seeds, and spring onions in that order so everything stays bright and fresh. Slice into portions and serve warm with small bowls of soy sauce, pickled ginger, and wasabi for people to customize their bite.
 Save to Pinterest
 There was something magical about sitting down with my family afterward, everyone eating directly from the same casserole dish family-style, passing soy sauce and wasabi around the table. It felt like the essence of why I cook: to create something that brings people together and makes them happy without making me stress about perfection.
Why This Became My Go-To
I stopped trying to roll sushi after burning myself twice and realizing my hands just don't work that way. But I never stopped craving that combination of fresh fish, rice, and avocado. This dish gave me permission to make sushi the way my kitchen and my skills allowed, and somehow it turned out better because I wasn't fighting against my limitations. Now I make it whenever I want sushi without the stress, and everyone acts like I've done something fancy.
Variations and Swaps That Actually Work
I've made this with canned tuna in a pinch and it was genuinely good—the cream cheese and mayo make everything taste elevated, even budget ingredients. Crab meat makes it feel more special for actual dinner parties, and I've done a shrimp version for someone with a shellfish allergy that her family still requests. The base is flexible enough that you can build whatever seafood version sounds good to you without the whole thing falling apart.
Timing and Temperature Tips
The entire process takes less time than getting takeout sushi delivered, which is wild when you think about it. Your oven does most of the work while you finish prepping toppings, so you're never actually cooking for 45 minutes straight. I always have everything prepped and ready before the salmon goes in, so the final assembly is just about layering and plating.
- Prep your avocado and spring onions while the assembled casserole bakes so they're fresh and crisp when you serve.
- If you're making this ahead for a party, you can assemble it completely up to the final baking step and refrigerate it for up to 4 hours, then just add an extra 5 minutes to the final bake.
- Serve it while it's still warm but not piping hot—cold sushi rice is good, warm sushi rice is better, but scalding rice is a texture disaster.
 Save to Pinterest
 This dish proved to me that cooking doesn't always mean following rules perfectly. Sometimes the best meals come from working with what you have and what you're actually good at, then trusting that good ingredients and simple technique will carry you home. Make this when you want something that tastes like love and skill but doesn't require either one in stressful amounts.
Common Recipe Questions
- → Can I substitute the salmon with other seafood?
Yes, cooked crab meat, canned tuna, or cooked shrimp can be used instead for a different flavor and texture.
- → How do I ensure the rice is perfectly seasoned?
Use a mixture of rice vinegar, sugar, and salt stirred into warm cooked sushi rice for a balanced tangy and slightly sweet flavor.
- → What is the best way to bake the salmon layer?
Brush the salmon with soy sauce and sesame oil, season lightly, then bake at 400°F (200°C) until cooked through but still moist.
- → Can I prepare this dish ahead of time?
Assemble and refrigerate the layers in advance, then bake and add fresh toppings just before serving.
- → What beverage pairs well with this dish?
A crisp, dry white wine like Sauvignon Blanc or a chilled sake enhances the subtle flavors and richness.