 Save to Pinterest
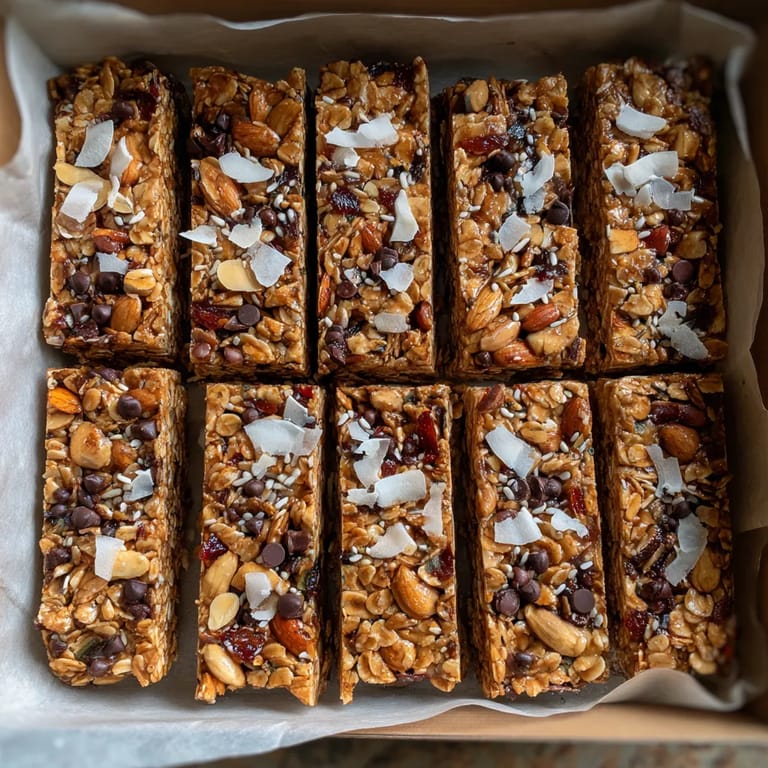
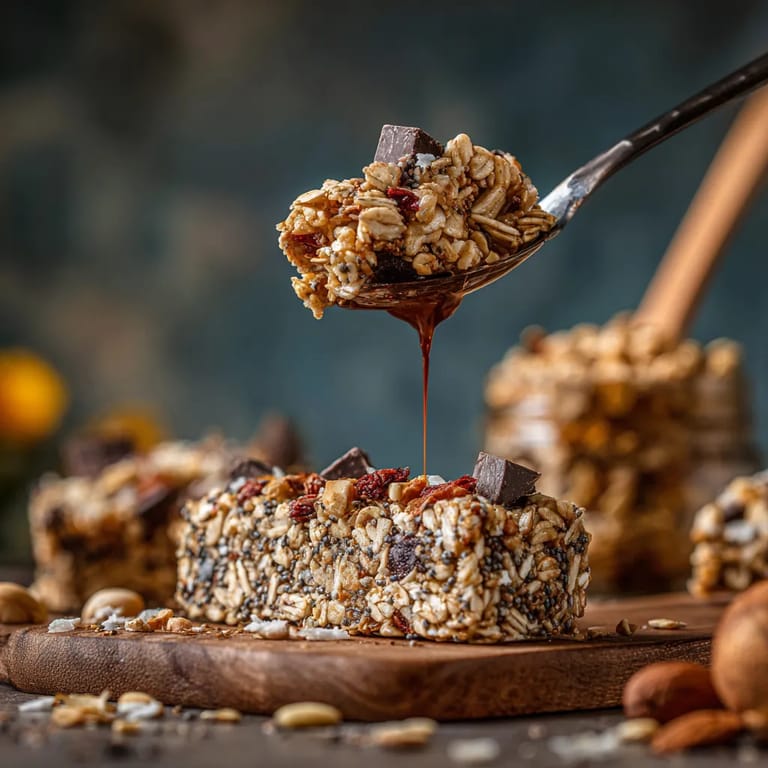
 These no-bake granola bars are my answer to busy weekday mornings or snack cravings that just won't quit. Packed with wholesome rolled oats and customizable mix-ins, these bars come together without turning on the oven and always disappear fast in my house. Whether you want a grab-and-go breakfast, easy kid snack, or a sweet treat after the gym, these chewy bars always save the day.
I first started making these bars when my kids wanted something sweet but filling after school. Now everyone builds their own favorite version with different mix-ins or nut butters and there is never a crumb left.
Ingredients
- Rolled oats: Using certified gluten-free oats makes these bars safe for gluten-free diets and ensures a hearty chewy texture. Choose oats that are whole and not overly processed for best results.
- Nut butter: Peanut almond or cashew butter gives richness healthy fats and helps bind the bars. Always pick unsweetened natural nut butter for best taste.
- Honey or maple syrup: Pure honey sweetens and holds the bars together. Maple syrup works just as well for a vegan bar and both should be pure without added fillers.
- Vanilla extract: Just a splash deepens the flavor and makes the bars taste homemade. Look for pure vanilla not imitation for best aroma.
- Salt: Balances out the sweetness and sharpens all other flavors. Sea salt or kosher salt is best here.
- Mini chocolate chips: These add little bursts of chocolate in every bite. Choose dairy-free chips if needed.
- Chopped nuts: Almonds walnuts or pecans bring crunch and added nutrition. Pick fresh nuts and roughly chop for best texture.
- Dried fruit: Cranberries raisins or apricots give a sweet tangy pop. Moist and plump dried fruits work best.
- Shredded coconut: For an extra chew and nutty richness. Use unsweetened finely shredded coconut if possible.
- Chia seeds or flaxseed: These boost the bars with nutrition and help them set up firmly. Fresh seeds are best kept refrigerated to maintain nutrients.
Tired of Takeout? 🥡
Get 10 meals you can make faster than delivery arrives. Seriously.
One email. No spam. Unsubscribe anytime.
Step-by-Step Instructions
- Line the Pan:
- Line an eight by eight inch baking pan with parchment paper leaving some hanging over the sides to make it easy to lift out the bars later. This makes cleanup a breeze and helps keep the bars from sticking.
- Mix the Dry Ingredients:
- In a large mixing bowl combine the oats and salt. Stir well so the salt is evenly distributed through the oats.
- Warm and Mix Wet Ingredients:
- In a separate microwave safe bowl add your nut butter and honey. Heat for thirty to forty five seconds until the mixture is just warm and easily stirs together. Add in your vanilla extract. Mixing when warm blends everything smoothly for easy coating later.
- Combine Wet and Dry:
- Pour the warmed nut butter and honey mixture over the oats. Stir patiently and thoroughly making sure every oat is well coated. This is the base of your bars holding everything together so take your time.
- Fold in Mix-Ins:
- Choose your favorite mix-ins and gently fold them into the mixture so they are spread evenly. Be creative here chocolate nuts fruit—any combo works.
- Press into Pan:
- Scoop the mixture into the prepared pan. Using a spatula or the back of a measuring cup press down very firmly to pack the mixture into a dense even layer. This prevents your bars from being crumbly after cutting.
- Chill to Set:
- Place the pan in the refrigerator for at least one hour until the mixture is cold and firm all the way through. Chilling is key so the bars hold their shape.
- Cut and Serve:
- Use the parchment overhang to lift the set granola slab from the pan. Cut with a sharp knife into twelve bars. Cleaning the blade after each cut keeps the bars neat and tidy.
- Store Properly:
- Place the bars in an airtight container and return them to the fridge. They stay fresh and chewy for up to one week—perfect for grab and go snacks.
 Save to Pinterest
 My favorite add-in is a mix of dark chocolate chips and dried cherries because those flavors remind me of my mom’s Sunday baking. Once my youngest helped press in the mixture and proudly handed out “her” granola bars to the whole family—now it’s a kitchen tradition we all love.
Storage Tips
These bars keep their chewy bite best when stored in the refrigerator in a sealed container lined with parchment. For extra long storage wrap each bar individually and freeze for up to two months. Let them sit at room temperature for a few minutes before eating if frozen.
Save to Pinterest Ingredient Substitutions
If you need the bars to be nut free sunflower seed butter is a great stand in for any nut butter and works just as well. Swap maple syrup for honey if you want a vegan version and always pick certified gluten free oats for those needing to avoid gluten. You can also substitute pumpkin seeds or sunflower seeds for some or all of the nuts to add crunch with no allergens.
Serving Suggestions
Pack these bars in lunchboxes for school or work snacks. Cut the mixture into small bites for a party tray or trail mix treat. I have even crumbled them over yogurt with a handful of berries for a quick breakfast parfait that feels extra special.
Cultural or Historical Background
Granola bars like these have their roots in American health food movements and lunchbox culture where convenience and whole ingredients are prized. Modern homemade versions are a response to store bought bars that are often packed with fillers and sugar—making your own lets you control every bite and ingredient. These bars have become a staple in my home because they are endlessly versatile and always crowd pleasing.
Common Recipe Questions
- → Can I make these bars vegan?
Yes, substitute honey with maple syrup and use dairy-free chocolate chips to keep the bars vegan.
- → What can I use instead of nut butter for allergies?
You can replace nut butter with sunflower seed butter for a nut-free version that still binds the bars together.
- → How do I ensure the bars are gluten-free?
Select certified gluten-free oats and check all mix-in ingredient labels to avoid gluten cross-contamination.
- → How should I store the bars?
Keep the bars in an airtight container in the refrigerator for up to one week to maintain freshness and texture.
- → Which mix-ins work well in these bars?
Mini chocolate chips, dried fruit, chopped nuts, shredded coconut, and chia or flaxseed all make great mix-ins for added flavor and nutrition.
- → Can the bars be made in advance?
Yes, you can prepare and chill the bars ahead of time. They’re perfect for meal prep and can be wrapped individually for convenience.