 Save to Pinterest
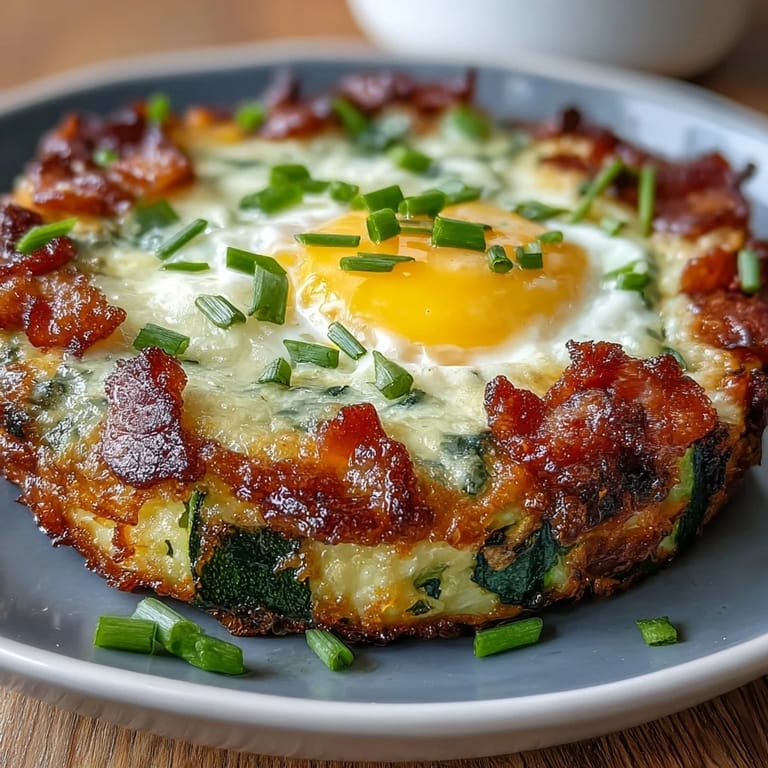
 One Tuesday morning, I was staring at a sad handful of zucchini and wondering how to make breakfast feel less like a chore. My partner wandered in asking for something crispy and filling, and that's when it clicked—what if I turned those vegetables into little edible cups? The first batch came out golden and perfect, and watching the eggs nestle into those warm zucchini nests felt like I'd cracked some kind of kitchen code.
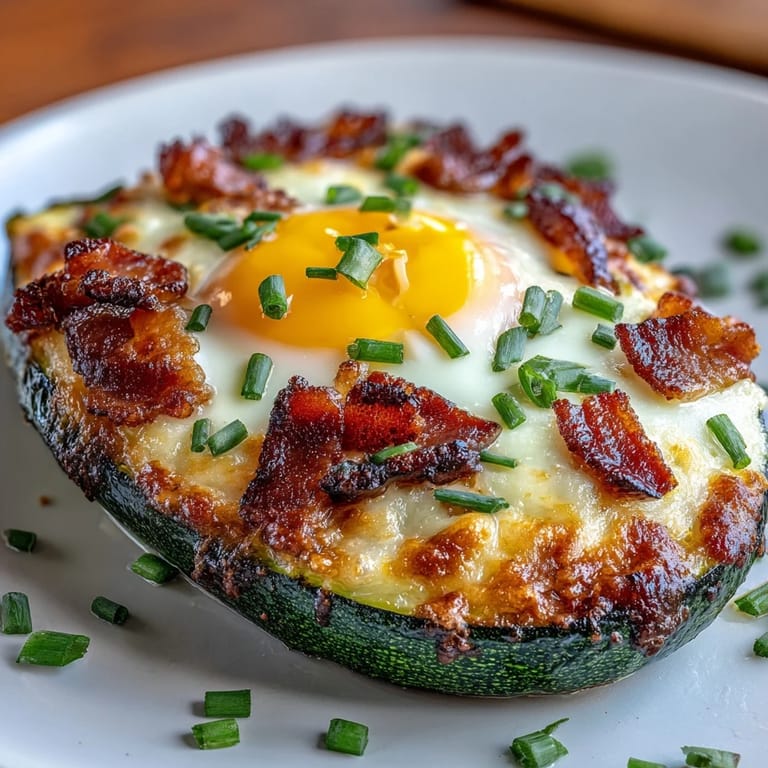
I made these for my mom's surprise birthday brunch last spring, and she kept asking why I never shared this before. That moment when she broke into the runny yolk and it cascaded over the bacon and zucchini—that's when I realized this dish had legs beyond just being low-carb fuel.
Ingredients
- Zucchini, 2 medium and grated: The hero of the nests that needs serious squeezing or you'll end up with soggy bases and pooled moisture.
- Bacon, 4 slices cooked and crumbled: Smoky, salty, and the reason these nests don't taste like virtuous punishment.
- Eggs, 4 large: The silky center that makes everything worth eating; crack them gently to avoid shell shards in your nest.
- Cheddar cheese, 1/2 cup shredded: Optional but honestly it's what binds the nests and keeps them from falling apart, so I'd skip skipping it.
- Yellow onion, 1 small finely diced: Adds subtle sweetness and texture if you want it; totally fine to leave out if your crisper is looking bare.
- Olive or avocado oil, 1 tablespoon: Use it to grease the tin or you'll be scraping with real frustration later.
- Salt, garlic powder, and black pepper: These three are the quiet seasoning workers that prevent the nests from tasting bland or one-dimensional.
- Chives or parsley, 2 tablespoons chopped: A final green whisper that makes the dish feel intentional, not like you just threw breakfast together.
Tired of Takeout? 🥡
Get 10 meals you can make faster than delivery arrives. Seriously.
One email. No spam. Unsubscribe anytime.
Instructions
- Heat your oven and prep the tin:
- Crank the oven to 400°F and give your muffin tin a light coating of oil. This step feels small but prevents the nests from sticking and turning into a regrettable demolition project later.
- Squeeze that zucchini like your life depends on it:
- Spread your grated zucchini on a clean kitchen towel and wring it out with both hands until it feels almost dry. Moisture is the enemy here—it'll steam instead of crisp and leave you with soggy disappointment.
- Mix the nest foundation:
- Combine the squeezed zucchini, onion, cheese, salt, pepper, and garlic powder in a bowl and stir until everything is evenly distributed. The mixture should feel slightly sticky and hold together when you press it.
- Pack the nests:
- Divide the mixture into 4 muffin cups and press firmly into the bottoms and sides to create a nest shape that can actually hold an egg without collapse. Your thumbs will do most of the work here, and it's oddly satisfying to shape these little edible cups.
- Give the nests a head start:
- Bake for 10 minutes until the edges start turning golden and the structure sets enough to hold an egg. You'll start smelling something almost like crispy vegetables, which is your signal to pull them out.
- Add bacon and crack eggs:
- Remove the tin, sprinkle crumbled bacon into each nest, then gently crack an egg into the center of each one. Work carefully here because a broken yolk changes the whole experience.
- Final bake to golden perfection:
- Return to the oven for 8 to 10 minutes until the egg whites are set but the yolks still jiggle slightly when you move the tin. This is where patience pays off—those runny yolks are non-negotiable.
- Cool and release:
- Let the nests sit for a couple of minutes so they firm up just enough to remove without falling apart. A small spatula or butter knife run around each nest helps them slide out cleanly onto a plate.
- Garnish and serve:
- Scatter fresh chives or parsley over the top and serve while everything is still warm and the yolk is still flowing.
 Save to Pinterest
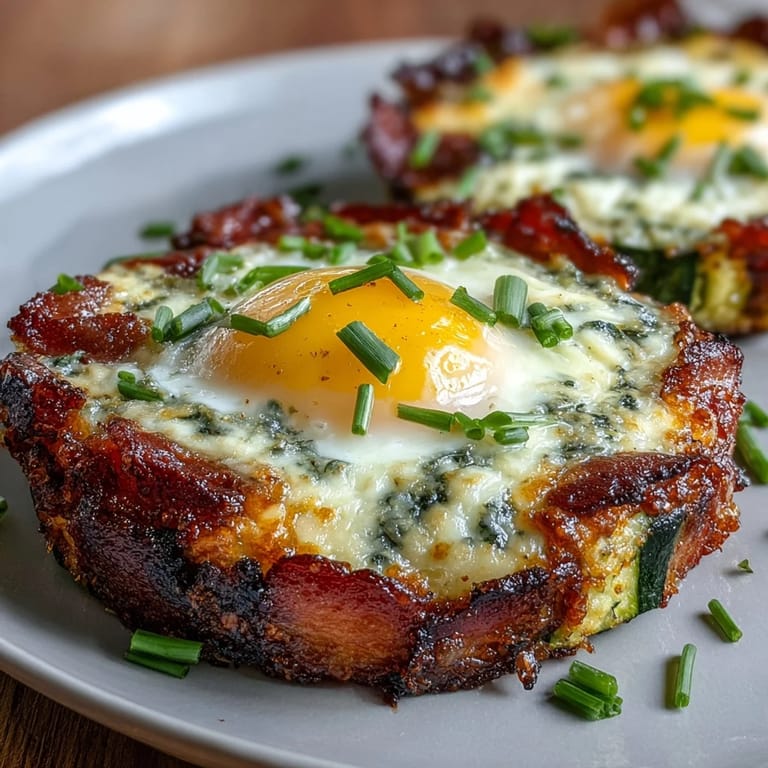
 My daughter called these 'fancy eggs in vegetables' and suddenly she was eating zucchini without protest for the first time all year. That shift from breakfast resistance to genuine excitement is the kind of quiet win that sticks with you.
Why These Nests Work
The brilliance of this dish is that it looks deliberate and composed while being genuinely simple to pull off. Zucchini softens quickly in the oven, turning sweet and tender, while the cheese and seasoning prevent it from tasting like a health punishment. The bacon adds fat and smoke that makes everything feel indulgent even though the whole meal clocks in at under 15 grams of carbs.
Customization Without Losing the Plot
I've tested these nests with mozzarella instead of cheddar, and they hold just as well with a slightly milder flavor that some people prefer. Adding red pepper flakes to the zucchini mixture brings a gentle heat that pairs beautifully with the runny yolk. Diced bell peppers or mushrooms can replace the onion if you want more variety without changing the technique.
Making Ahead and Storage
On mornings when I'm not ready to commit to cooking, I bake the zucchini nests without eggs the night before and store them in the fridge. The next morning, I just add bacon and eggs and give them 8 minutes in the oven while I pour coffee. These nests also freeze beautifully after the initial bake—just wrap them well and you've got breakfast waiting for busy days.
- Cooked nests without eggs will keep refrigerated for up to 4 days in an airtight container.
- Freeze fully cooked nests on a sheet pan first, then move to a freezer bag so they don't get crushed.
- Thaw overnight in the fridge before reheating and adding eggs, or just add a couple minutes to the bake time.
 Save to Pinterest
 These zucchini nests have become my go-to when I want breakfast to feel special without pretending I'm a chef. They're the kind of dish that reminds you that eating well and eating deliciously don't have to be at odds with each other.
Common Recipe Questions
- → How do I prevent zucchini nests from being soggy?
Thoroughly squeezing out excess moisture from grated zucchini before mixing helps keep the nests firm and crisp after baking.
- → Can I prepare these nests ahead of time?
Yes, bake the zucchini nests without eggs and refrigerate. Add eggs and bake fresh the next morning for convenience.
- → What cheese works best in these nests?
Cheddar adds sharpness, but mozzarella or Swiss provide milder, creamy flavors. Adjust to taste or omit for dairy-free options.
- → How do I achieve runny egg yolks in the nests?
Bake the nests initially, add eggs, then continue baking about 8-10 minutes until whites set but yolks remain slightly runny.
- → Are these nests suitable for gluten-free diets?
Yes, all ingredients including bacon and cheese should be gluten-free certified to ensure safety for sensitive individuals.