 Save to Pinterest
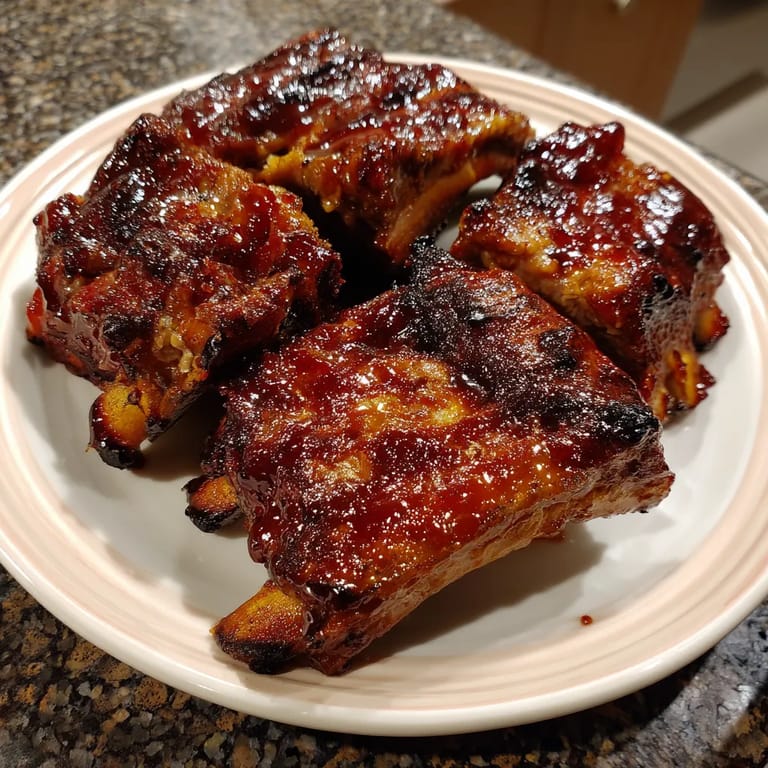
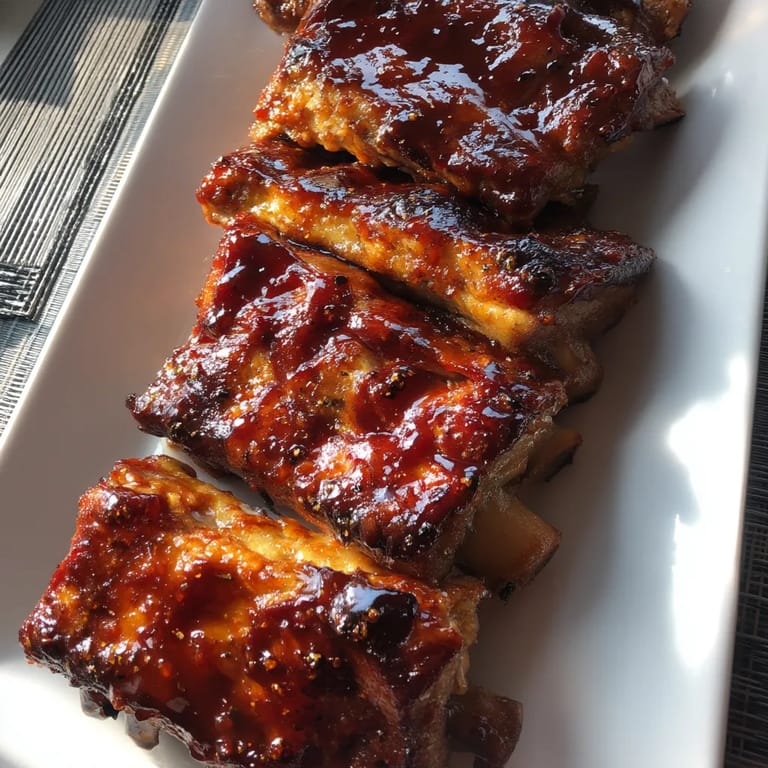
 This hearty Kansas City BBQ Ribs recipe delivers the authentic taste of Midwest barbecue right to your table. The slow cooking process ensures fall-off-the-bone tenderness while the sweet and smoky signature sauce creates that perfect sticky glaze Kansas City is famous for.
I first made these ribs for a summer backyard gathering and they disappeared faster than anything else on the table. Now they're requested at every family celebration and I've perfected my technique over dozens of cookouts.
Ingredients
- Pork spare ribs or baby back ribs: these are the foundation of your dish with baby backs cooking slightly faster and spare ribs offering more meat
- Brown sugar: creates caramelization and that signature KC sweetness in both the rub and sauce
- Paprika and smoked paprika: provides the classic red color and smoky depth essential to proper barbecue
- Apple cider vinegar: balances the sweetness with tangy acidity for a well rounded sauce
- Molasses: adds deep rich sweetness and the authentic Kansas City thickness to your sauce
- Worcestershire sauce: brings umami and complexity with its fermented anchovy base
Tired of Takeout? 🥡
Get 10 meals you can make faster than delivery arrives. Seriously.
One email. No spam. Unsubscribe anytime.
Step-by-Step Instructions
- Prepare the Membrane:
- Remove the thin silvery membrane from the back of the ribs by sliding a butter knife under one corner then grip with a paper towel and pull across the rack. This crucial step ensures the spices penetrate the meat and prevents chewy texture in the finished ribs.
- Create the Dry Rub:
- Combine all dry ingredients thoroughly ensuring no lumps of brown sugar remain. The rub should have a uniform color and texture. This blend creates the first layer of flavor that will penetrate during the long cooking process.
- Season the Meat:
- Apply the rub generously on both sides working it into every part of the rack. Start with the bone side then flip and cover the meaty side making sure to coat the edges too. Allow the seasoned ribs to sit for 30 minutes if you have time for the flavors to begin penetrating.
- Low and Slow Baking:
- Wrap each rack completely in heavy duty foil ensuring a tight seal to trap moisture. Place on a rimmed baking sheet to catch any potential leaks. The 300°F temperature allows the tough connective tissues to break down slowly for tender results without drying out the meat.
- Sauce Development:
- Simmer all sauce ingredients together stirring frequently to prevent burning particularly on the bottom of the pan. The sauce should coat the back of a spoon when ready. This homemade sauce develops deeper flavor than anything store bought with the perfect balance of sweet tangy and spicy.
- Glazing Technique:
- Apply sauce liberally with a silicone brush ensuring even coverage. The high heat caramelizes the sugars creating that signature sticky Kansas City finish. Watch carefully during this final stage as the sugar can burn quickly.
 Save to Pinterest
 The molasses in this recipe is my secret weapon for authentic flavor. My grandfather was a Kansas City barbecue enthusiast who taught me that real KC sauce needs that deep molasses complexity that you just cant replicate with brown sugar alone. Every time I make these ribs I remember summer evenings in his backyard waiting impatiently while he tended his smoker.
Membrane Removal Matters
Removing the membrane from the back of the ribs is a step many home cooks skip but it makes an enormous difference in your final result. This tough connective tissue becomes papery and unpleasant when cooked preventing seasoning from penetrating the meat from the underside. Grip it firmly with a paper towel once you get it started as it can be slippery. If you leave it on the ribs will still taste good but they wont have that perfect tenderness and flavor penetration that makes restaurant quality ribs so special.
How To Tell When Ribs Are Done
Perfect ribs should not fall off the bone contrary to popular belief. Competition barbecue judges look for meat that pulls cleanly from the bone when bitten but doesnt fall apart when lifted. The bend test is your best indicator simply pick up the rack with tongs in the middle if it bends until the meat starts to crack across the surface theyre ready. Another reliable test is to insert a toothpick between the bones it should slide in with very little resistance when the ribs are perfectly cooked. Remember that baby back ribs will cook faster than spare ribs due to their smaller size.
Serving Suggestions
These ribs shine as the centerpiece of a classic barbecue spread. Serve them with creamy coleslaw the cool crunch and tangy dressing provides the perfect contrast to the rich meat. Traditional KC sides include baked beans sweet corn and potato salad. For an authentic experience cut the ribs individually between bones rather than serving half or full racks and offer extra sauce on the side for dipping. A pickle spear provides a welcome acidic counterpoint to the sweet rich flavors of the dish.
Storage and Reheating
Leftover ribs maintain their quality surprisingly well when properly stored. Refrigerate in an airtight container for up to 3 days. For best reheating results wrap in foil with a tablespoon of water or apple juice added then warm in a 275°F oven for about 20 minutes until heated through. Finish under the broiler for 2 3 minutes to recreate the caramelized exterior. These ribs also freeze exceptionally well wrap tightly in foil then in freezer bags for up to 3 months. Thaw completely in the refrigerator before reheating.
Save to Pinterest Common Recipe Questions
- → How do I know when the ribs are done cooking?
The ribs are done when they're tender but not falling apart. You can test by gently bending the rack - it should flex easily and the meat should start to pull away from the bone ends. If you have a meat thermometer, the internal temperature should reach 195°F to 203°F (90°C to 95°C) for that perfect tender texture.
- → Can I make these ribs without a grill?
Absolutely! While grilling adds smoky flavor, you can finish the ribs entirely in the oven. After the slow-baking process, simply increase your oven temperature to 425°F (220°C), brush the ribs with BBQ sauce, and bake uncovered for 10-15 minutes until the sauce caramelizes, basting occasionally with additional sauce.
- → What makes Kansas City BBQ sauce different from other styles?
Kansas City BBQ sauce is known for being thick, sweet, and tangy. It typically contains molasses, which gives it that distinctive rich sweetness and helps create a sticky glaze when caramelized. The balance of sweetness (from brown sugar and molasses) with tanginess (from vinegar and mustard) is the hallmark of this regional style.
- → Why should I remove the membrane from the back of the ribs?
Removing the thin membrane (silver skin) from the back of the ribs allows for better flavor penetration from the rub and sauce. It also improves the texture of the finished ribs, as the membrane can become tough and chewy when cooked. To remove it, slide a butter knife under the membrane at one end, lift it up, then grip with a paper towel and pull it off in one piece.
- → Can I make these ribs ahead of time for a party?
Yes! You can prepare these ribs up to a day ahead. Complete the slow-baking step, then refrigerate the wrapped ribs. When ready to serve, bring them to room temperature for 30 minutes, then proceed with the saucing and final grilling/broiling steps. This makes them perfect for entertaining, as the time-consuming part is done in advance.
- → What sides pair well with Kansas City BBQ ribs?
Classic sides that complement these ribs include coleslaw, baked beans, corn on the cob, mac and cheese, potato salad, cornbread, or grilled vegetables. The cool, crisp texture of coleslaw particularly balances the rich, sticky ribs, while starches help absorb the delicious sauce.