 Save to Pinterest
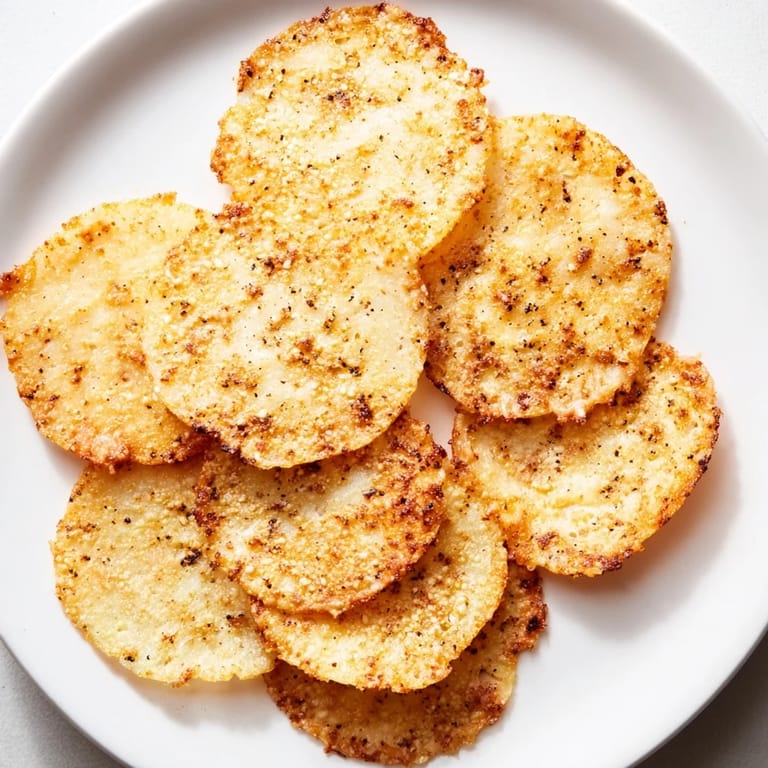
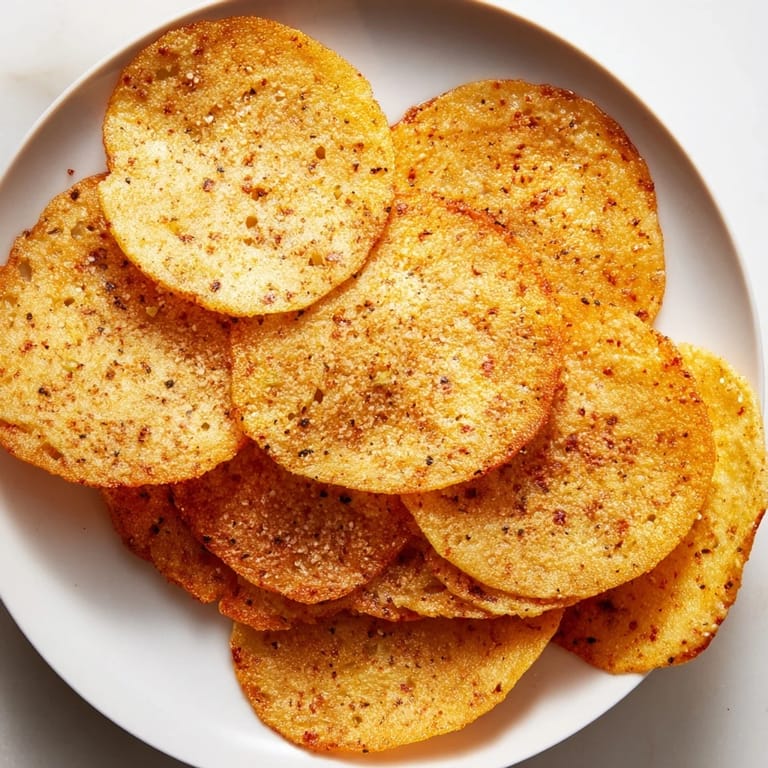
 My partner opened the fridge one Tuesday evening and asked if we could finally do something with the cottage cheese that had been sitting there for days. I'd been meaning to experiment with protein snacks anyway, so we decided to drain it, season it heavily, and bake it into crispy little rounds. What came out of the oven surprised us both—golden, crunchy chips that tasted nothing like the soft dairy product we started with. It became our go-to snack within a week.
I brought a batch to a movie night with friends who were skeptical until they actually tasted them. One person kept reaching for more while insisting they couldn't possibly be made from cottage cheese. That moment of surprise—when someone's expectations completely flip—made me realize this recipe was worth keeping in permanent rotation.
Ingredients
- Cottage cheese: Use full fat if you want richness and easier crisping, but low fat works fine too—just be extra patient with the draining step.
- Garlic powder: This is your flavor backbone, so don't skimp or substitute with fresh garlic which adds unwanted moisture.
- Onion powder: Keeps the savory depth going without making things wet.
- Smoked paprika: Gives that almost-fried flavor without the oil, and the smoke stays even after baking.
- Black pepper and sea salt: Taste as you go with these because everyone's tolerance is different.
- Parmesan cheese: Optional but worth it—adds umami and helps them crisp up faster.
- Dried herbs: Oregano, thyme, or rosemary all work beautifully; pick whichever feels right to you.
Tired of Takeout? 🥡
Get 10 meals you can make faster than delivery arrives. Seriously.
One email. No spam. Unsubscribe anytime.
Instructions
- Set up your station:
- Preheat your oven to 350°F and line a baking sheet with parchment paper or a silicone mat—this prevents sticking and makes cleanup almost painless.
- Drain the cottage cheese:
- Spoon your cottage cheese into a fine mesh sieve or wrap it in cheesecloth and press gently for a few minutes. The drier you get it now, the crispier your chips will be, so don't rush this step.
- Season and blend:
- Combine the drained cottage cheese with all your seasonings in a food processor and pulse until mostly smooth with just a hint of texture still visible. If it looks too wet, drain it again.
- Shape your chips:
- Scoop heaping teaspoons of the mixture onto your prepared sheet and gently flatten each one into a thin round about two inches wide. Space them an inch apart so they have room to crisp up evenly.
- Bake until golden:
- Slide everything into the oven for 25 to 30 minutes, watching toward the end for that beautiful golden-brown color, especially around the edges. They'll sound crispy when you tap them.
- Cool completely:
- Leave them on the baking sheet once they come out—they continue crisping as they cool, which is when the real magic happens. Serve warm or at room temperature.
 Save to Pinterest
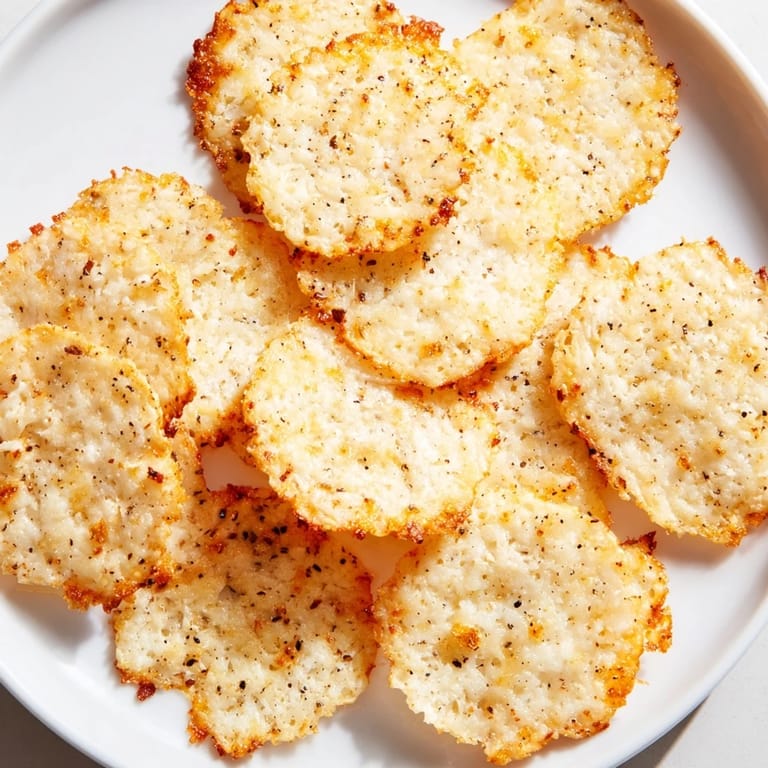
 The first time someone told me these reminded them of the healthiest snack they'd ever had, it clicked that we'd actually made something both good for you and crave-worthy at the same time. That's rare enough to feel special.
Flavor Variations That Actually Work
Once you nail the basic version, you can pivot in so many directions without overthinking it. I've done a spicy version with cayenne and a pinch of smoked salt, an Italian version with dried oregano and extra Parmesan, and even a chili-lime situation that nobody expected to work but did. The seasoning formula is forgiving as long as you keep the dairy-to-dry-ingredient ratio roughly the same.
Storage and Second-Day Strategy
Fresh chips are best, obviously, but they keep in an airtight container for about three days. If they soften up a bit, just pop them in a 300°F oven for five minutes and they'll crisp right back up like they just came out of the oven originally. I've found this actually works better than microwave reheating because it doesn't steam them.
When to Make These
They're perfect for meal prep on a Sunday, great for people doing high-protein diets, and honestly just perfect for when you want something crunchy that doesn't derail your goals. I make them ahead for workday snacking because they travel well and don't require refrigeration once they're cooled.
- Pair them with hummus, ranch, or even salsa for dipping if you want to go that route.
- They're gluten-free and vegetarian, so they work for basically any dietary situation your guests might have.
- Double the batch if you're having people over—they disappear faster than you'd expect.
 Save to Pinterest
 These chips prove that healthy eating doesn't have to taste like punishment, and that sometimes the best discoveries come from just trying to use up what's already in your fridge. Make them once and you'll know why they became a permanent snack in our house.
Common Recipe Questions
- → How do I remove excess moisture from the cottage cheese?
Press cottage cheese in a fine mesh sieve or cheesecloth to extract liquid, ensuring the chips become crisp when baked.
- → Can I add different seasonings for varied flavors?
Yes, swapping herbs or adding chili powder or cayenne pepper enhances the flavor profile to your preference.
- → What baking temperature and time produce the best texture?
Bake at 350°F (175°C) for 25–30 minutes until edges turn golden and chips are crisp.
- → How should I store the chips to maintain crispness?
Store in an airtight container and reheat briefly in the oven to restore their crunch before serving.
- → Are these chips suitable for special diets?
They are high-protein, gluten-free, and vegetarian, making them compatible with a range of dietary preferences.