 Save to Pinterest
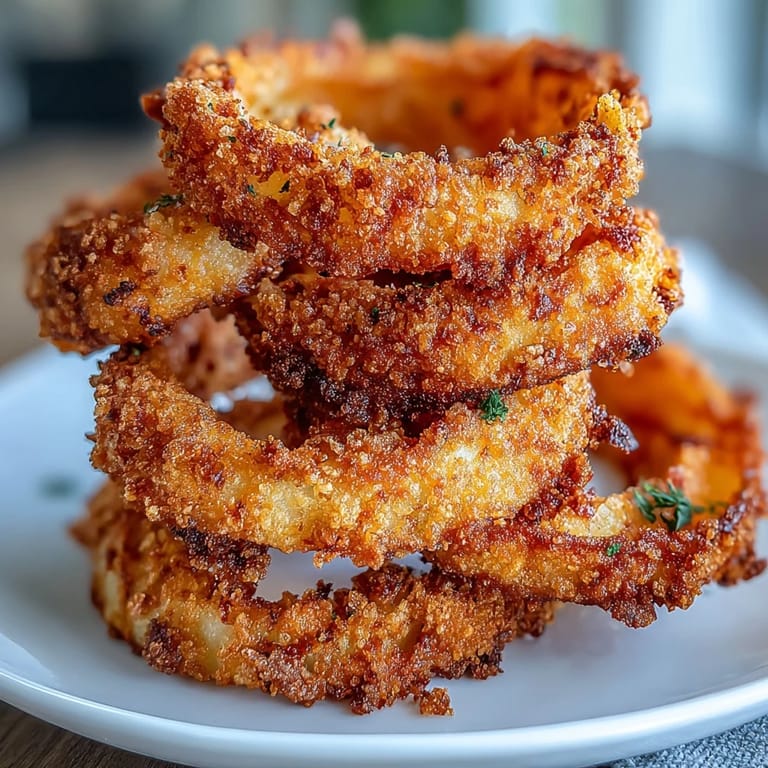
 My neighbor brought over a basket of these baked onion rings last summer, still steaming from her oven, and I immediately abandoned my original dinner plans. The golden crust crackled between my teeth in the best way, and that smoky paprika dip made everything taste like we were at some fancy gastropub instead of standing in a kitchen in July heat. I asked for her secret, expecting something complicated, but she just laughed and said she'd gotten tired of greasy takeout fingers. Since then, I've made these countless times, and they've become my go-to when I want something that feels indulgent but doesn't wreck my kitchen with hot oil splatters.
I served these at a game night a few months back, and my friend who usually skips appetizers went back for thirds. Watching people's faces light up when they realized these weren't the heavy, oil-logged version they expected was honestly the highlight of my week. That one moment made me realize that sometimes the best kitchen wins aren't about complexity, they're about surprising people with something familiar done better.
Ingredients
- Large yellow onions: You want ones that are firm and unblemished because thin-walled onions fall apart when you slice them, and that ruins the whole ring structure.
- All-purpose flour: This is your first layer of adhesion, so don't skip it even though it seems simple.
- Eggs and milk: This mixture is the glue that holds everything together, and the milk helps create a thinner batter that clings better than eggs alone.
- Panko breadcrumbs: Regular breadcrumbs work, but panko gives you that satisfying crunch that feels almost fried without actually frying.
- Smoked paprika: This is where the flavor story happens, so use the real stuff and not regular paprika if you can.
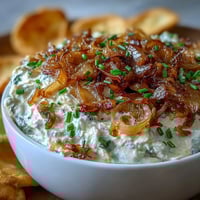
- Sour cream and mayonnaise: The sour cream brings tang and the mayo brings richness, and together they're the perfect base for a dip that actually tastes like something.
- Lemon juice: Just a teaspoon brightens everything and keeps the dip from tasting flat and one-dimensional.
Tired of Takeout? 🥡
Get 10 meals you can make faster than delivery arrives. Seriously.
One email. No spam. Unsubscribe anytime.
Instructions
- Set up your oven and workspace:
- Get your oven heating to 425°F and line your baking sheet with parchment paper so nothing sticks and cleanup is painless. This is the moment to gather all your bowls and ingredients because once you start dredging rings, you'll have wet hands constantly.
- Slice and separate your onions:
- Cut your onions into rings about half an inch thick, then gently separate them with your fingers because trying to do it with a knife just creates a mess. You'll probably get a few broken rings, but save those for snacking or toss them in the dip later.
- Create your breading station:
- Set up three bowls in a line: flour with salt and pepper, whisked eggs and milk, and panko mixed with garlic powder and smoked paprika. This assembly line approach keeps things organized and prevents you from getting confused about which bowl is which.
- Bread each ring with care:
- Dredge each ring in flour first, then dip it in the egg mixture, and finally coat it thoroughly in the breadcrumb mixture, pressing gently so it sticks. If a ring feels fragile or starts falling apart, just move on because some rings won't cooperate no matter what you do, and that's okay.
- Arrange and spray:
- Lay the rings in a single layer on your prepared sheet and spray them lightly with cooking spray so they'll actually get crispy and golden. Don't oversaturate or they'll steam instead of bake, which defeats the whole purpose.
- Bake until golden:
- Bake for 18 to 20 minutes, flipping halfway through so both sides get equal color and crispness. You'll know they're done when they look like they came from a fancy restaurant and smell absolutely impossible to resist.
- Make the dip while they bake:
- Mix your sour cream, mayo, smoked paprika, garlic powder, lemon juice, salt, and pepper in a small bowl until everything is smooth and combined. Taste it and adjust the seasoning because this is where you can make it your own by adding more paprika for smokiness or lemon for brightness.
- Serve immediately:
- Pull the rings from the oven, let them cool for just a minute so you don't burn your mouth, then serve them hot with the dip on the side. They're best eaten right away while they still have that satisfying crunch.
 Save to Pinterest
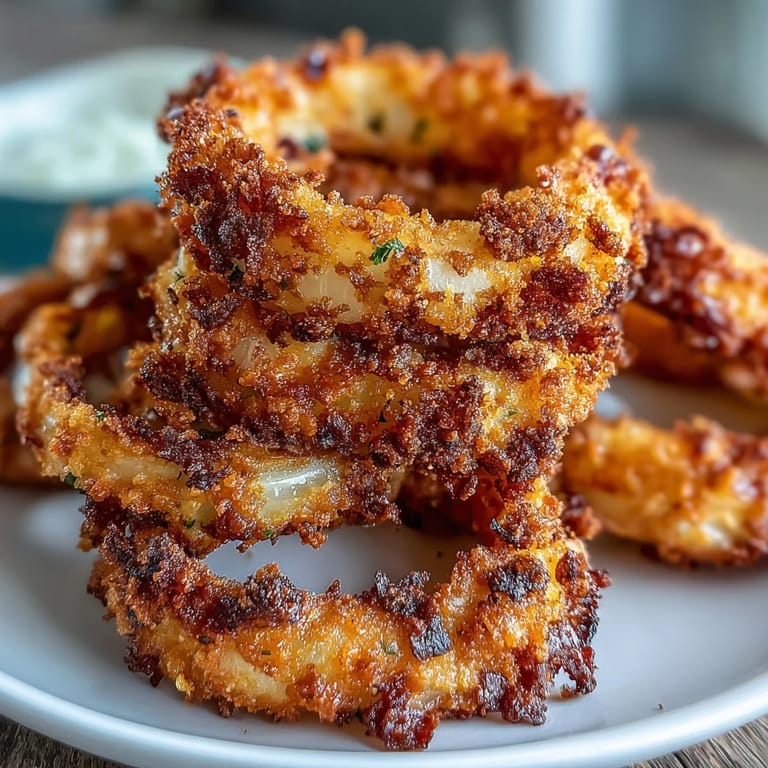
 There's something magical about pulling a tray of golden onion rings from the oven and knowing you've just created something that tastes indulgent while actually being reasonable to eat. It reminds me that cooking doesn't have to be complicated to make people happy, and sometimes the simplest victories in the kitchen are the ones that stick with you.
How to Make Them Extra Crispy
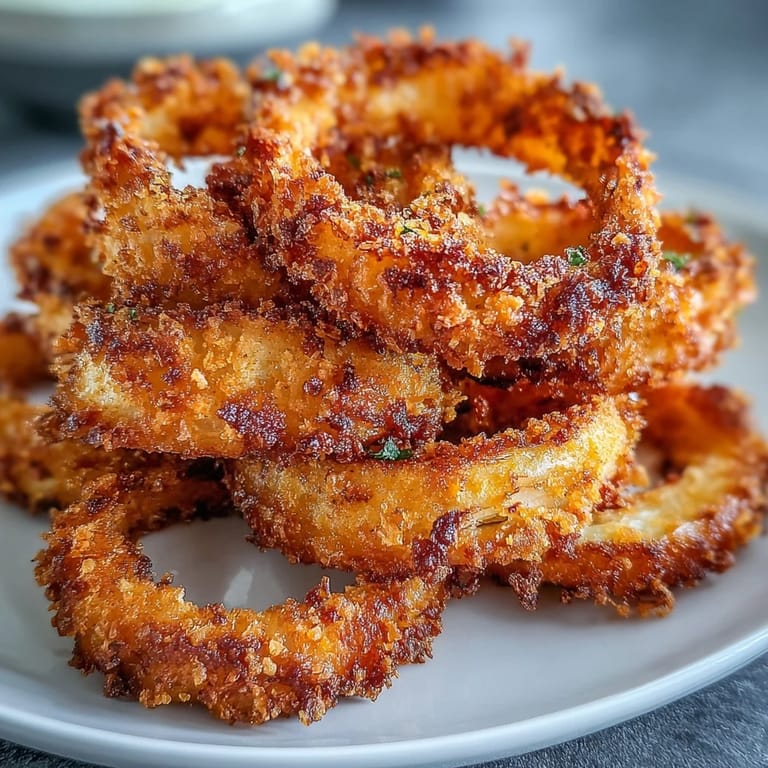
If you're someone who loves the shatter-and-crunch factor of truly crispy onion rings, here's my secret: double-dip them. After your first breadcrumb coating, dip them back in the egg mixture and coat them in breadcrumbs one more time. It sounds like overkill, but that extra layer is what creates those little craggy bits that caramelize and turn into flavor bombs. I learned this by accident when I accidentally dredged a ring twice and noticed the difference immediately.
The Dip Beyond Paprika
The smoky paprika dip is delicious as written, but this is your canvas for creativity. I've experimented with adding a pinch of cayenne for heat, extra lemon juice for brightness, and even a tiny bit of honey to balance everything. My favorite discovery was mixing in some finely minced fresh chives, which adds this fresh onion note that feels almost poetic given what you're dipping. The beauty of a creamy dip base is that you can adjust it to match your mood and what you have on hand.
Storage and Reheating Tips
Honestly, these are best eaten fresh and warm, but life happens and sometimes you have leftovers. Store the cooled rings in an airtight container for up to two days, and reheat them in a 350°F oven for about five minutes to restore their crunch. The dip keeps for three days refrigerated, and you'll probably use it on other things like vegetables, crackers, or baked potatoes because once you have it around, you'll find endless uses for it.
- Let baked rings cool on the baking sheet for a minute before transferring them to avoid them sticking together.
- Make the dip up to an hour ahead and let it chill, which actually helps the flavors meld and intensify.
- If you're feeding a crowd, you can arrange and bread all the rings in advance, then bake them right before serving for maximum impact.
 Save to Pinterest
 These baked onion rings have become one of those recipes I reach for when I want to feed people something that feels special without spending hours in the kitchen. Every time I make them, someone asks for the recipe, and I love sharing something that consistently delivers on both taste and simplicity.
Common Recipe Questions
- → How do you get crispy onion rings without frying?
Coating onion rings in a seasoned breadcrumb mixture and baking them at a high temperature creates a golden, crunchy texture without frying.
- → What adds the smoky flavor to the dip?
Smoked paprika is the key ingredient that delivers the smoky depth to the creamy dip, balanced with garlic and lemon juice.
- → Can I make the dip lighter without losing flavor?
Yes, substituting sour cream with Greek yogurt reduces fat while maintaining a creamy texture and tangy taste.
- → How should the onion rings be prepared before baking?
Onions are sliced into thick rings, then dredged through flour, an egg-milk wash, and seasoned panko breadcrumbs before baking.
- → What tips help to enhance the crunchiness of the rings?
Double-dipping the rings in the egg and breadcrumb mixture and ensuring an even coating before baking boosts the crunch.