 Save to Pinterest
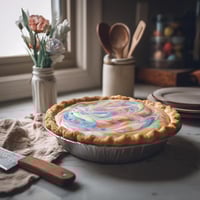
 My grandmother pulled this pie from her oven every Easter Sunday, and the kitchen would fill with this savory aroma that made everyone forget about the ham on the table. She never wrote down her recipe, just moved through the kitchen with the certainty of someone who had made the same dish fifty times before. Years later, when I finally recreated it in my own kitchen, I understood why she guarded this pie so carefully—it's the kind of dish that tastes like tradition but feels entirely personal once you've made it your own.
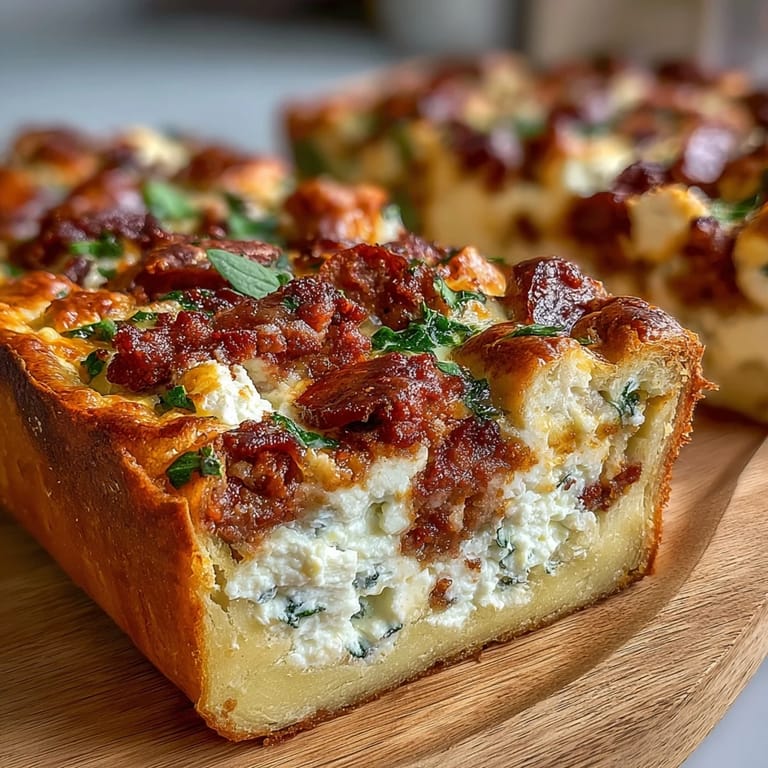
I brought this pie to a potluck once without thinking about how it might be received, and watched three different people take second slices before the main course even arrived. That's when I realized this wasn't just a special occasion dish—it was the kind of food that surprises people with how satisfying it is, both as an elegant centerpiece and as something you could genuinely eat for dinner without apology.
Ingredients
- All-purpose flour: Two and a half cups creates a tender crust that's sturdy enough to hold a heavy filling but still flakes beautifully when baked.
- Unsalted butter: Keep it cold and cubed so it stays separate in the dough, creating those essential layers that make the pastry light.
- Salt: Just half a teaspoon balances the sweetness of the butter and keeps everything from tasting flat.
- Eggs (for pastry): These bind everything together and give the dough enough structure to line the pan without cracking.
- Cold water: Add it slowly—too much and your crust becomes tough, not enough and it won't hold together.
- Whole-milk ricotta cheese: Drain it well ahead of time so the filling isn't watery, which is the difference between a silky pie and one that weeps liquid as it cools.
- Heavy cream: This keeps the filling creamy and luxurious even after baking, when everything else has set.
- Parmigiano-Reggiano cheese: Grate it fresh right before mixing—it dissolves more evenly than pre-shredded and tastes noticeably sharper.
- Italian salami: Dice it small enough that you get a piece in every bite, but not so fine that it disappears into the filling.
- Mozzarella cheese: Shredding it yourself means fewer anti-caking agents, and it melts more smoothly into the custard.
- Fresh parsley: Chopped just before mixing, it adds a bright note that cuts through the richness without being obvious.
- Nutmeg: A whisper of this transforms the filling from savory-custard into something that feels almost ethereal.
Tired of Takeout? 🥡
Get 10 meals you can make faster than delivery arrives. Seriously.
One email. No spam. Unsubscribe anytime.
Instructions
- Build your pastry base:
- Mix flour and salt, then work in cold butter with your fingertips until the mixture looks like coarse breadcrumbs with some pea-sized pieces still visible. Add eggs and cold water gradually, bringing it together into a soft dough without overworking it—this is where patience pays off. Wrap it and chill for twenty minutes while you preheat your oven to 375°F and prepare your pan.
- Line the pan:
- Roll out two-thirds of your chilled dough and carefully press it into a 9-inch springform or deep pie pan, letting the edges overhang just slightly. This overhang becomes your crimped border, so don't trim it yet.
- Build the filling:
- Combine drained ricotta, eggs, heavy cream, grated Parmigiano-Reggiano, shredded mozzarella, fresh parsley, salt, pepper, and nutmeg in a large bowl. Stir in your diced salami last so it distributes evenly throughout without sinking.
- Fill and top:
- Pour the filling into your pastry-lined pan and smooth the surface gently. Roll out your remaining pastry, cut it into strips about half an inch wide, and arrange them in a lattice pattern over the filling—don't stress about perfection here.
- Seal and gloss:
- Trim the overhang to about an inch, fold it over the lattice edge, and crimp with your fingers or a fork. Brush everything visible with beaten egg so it bakes to a deep golden color.
- Bake until set:
- Bake for 55 to 60 minutes—you'll know it's done when the top is golden and the filling no longer jiggles when you gently shake the pan. If the crust edges are browning too quickly, loosely tent them with foil for the last 15 minutes.
- Cool and serve:
- Let the pie rest for at least 30 minutes before slicing, though it's genuinely better served warm or completely cool rather than piping hot. The filling continues to set as it cools, and the flavors deepen after an hour or two of rest.
 Save to Pinterest
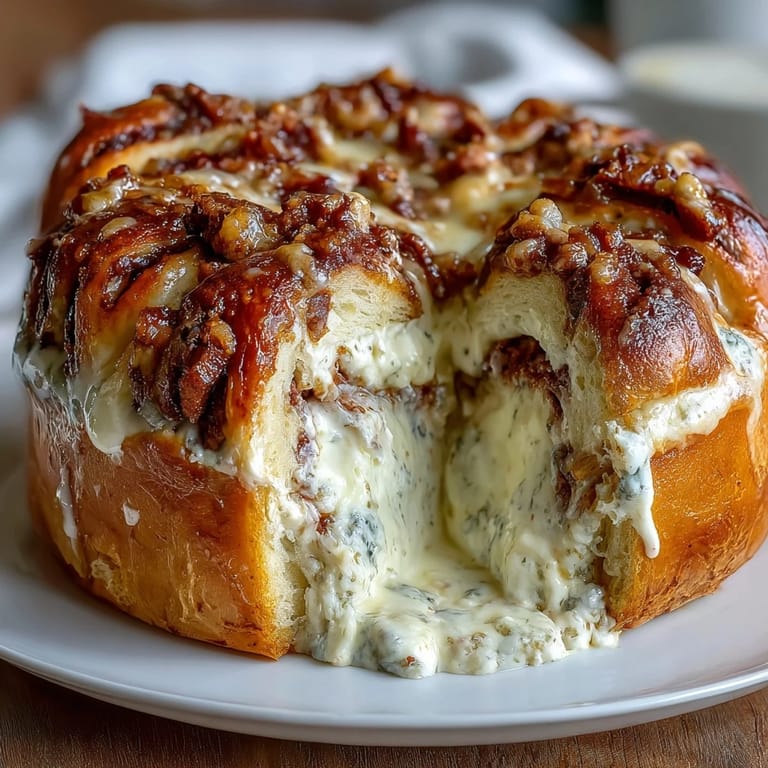
 The first time someone told me they'd made this for their own family dinner, I felt something shift in how I thought about recipes—like they weren't just instructions anymore but invitations to become part of someone else's tradition. Now when I make it, I think about all the kitchens where this pie appears, and how it connects to something older than any single person's version.
The Pastry Question
You can absolutely make this pastry by hand, and there's something meditative about working cold butter into flour with just your fingertips until it feels like sand. That said, a food processor saves time and keeps everything colder, which means fewer cracks and shrinkage issues—I use the pulse button and stop the moment it looks like crumbs. Either way, the key is respecting the chill time and not overworking the dough, which is where most pastry problems start.
Making It Your Own
This pie has room for variation without losing its essential character—I've made it with prosciutto when salami wasn't available, and once with sautéed spinach for vegetarians, and it worked beautifully both times. The structure stays the same, so you can swap the salami for whatever you love without worrying you've broken something fundamental. Think of the ricotta and egg base as your foundation, and then build from there based on what's in your kitchen.
Timing and Temperature Tips
This pie's timeline is actually flexible because you can make the pastry days ahead and the filling up to a day before assembling it, which makes it perfect for entertaining when you want to look calm and collected. The baking itself is straightforward once everything is assembled, and the 30-minute cooling period isn't just for food safety—it's when the flavors actually settle and integrate into something more cohesive than the sum of their parts.
- If you notice the filling starting to puff dramatically in the last ten minutes of baking, your oven might be running hot—lower the temperature slightly and add a few extra minutes rather than risk a collapsed center.
- Let leftovers cool completely before wrapping them, otherwise condensation will make the crust soggy, but properly stored slices taste wonderful for three days refrigerated.
- Reheat gently in a 300°F oven for about 15 minutes if you want that fresh-from-the-oven warmth without drying anything out.
 Save to Pinterest
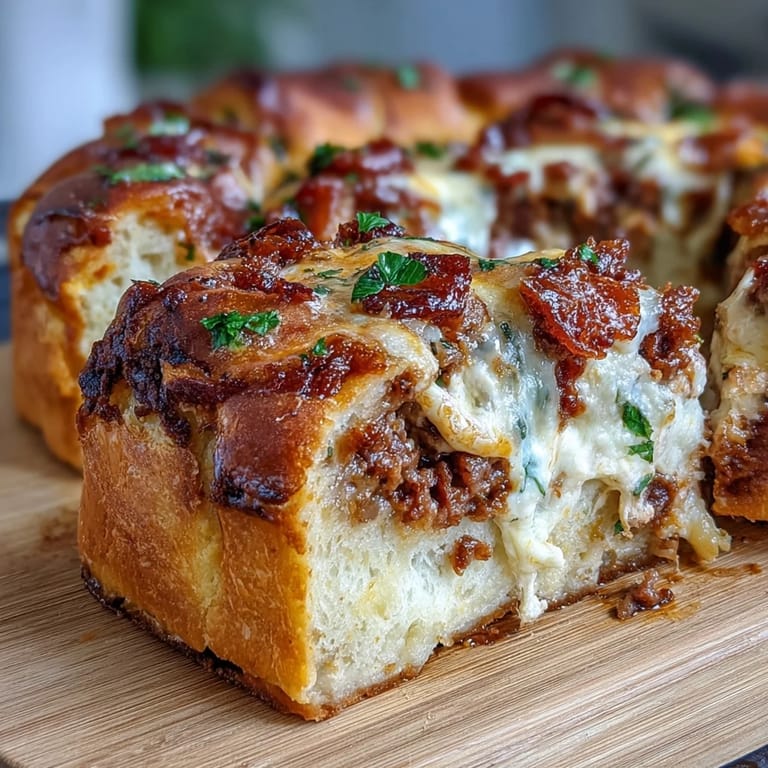
 This pie is one of those dishes that reminds you why people gather around food, and why the same recipe tastes different every time depending on who's at the table. Make it with confidence, and don't apologize for the imperfections—they're what make it real.
Common Recipe Questions
- → What type of cheese is best for the filling?
Whole-milk ricotta combined with Parmigiano-Reggiano and mozzarella provides a creamy, flavorful filling with good texture contrast.
- → Can I substitute salami with other meats?
Yes, prosciutto or cooked ham can be used as alternatives for a different flavor profile.
- → How do I achieve a flaky pastry crust?
Use cold butter cut into the flour to create coarse crumbs, then chill the dough before rolling to ensure flakiness.
- → Is it possible to make a vegetarian version?
Omit the salami and add sautéed spinach or artichokes to maintain heartiness without meat.
- → What is the best way to serve this dish?
Serve warm or at room temperature to fully enjoy the creamy filling and crisp crust texture.
- → How long should the pie cool before slicing?
Allow at least 30 minutes of cooling to let the filling set and facilitate clean slices.