 Save to Pinterest
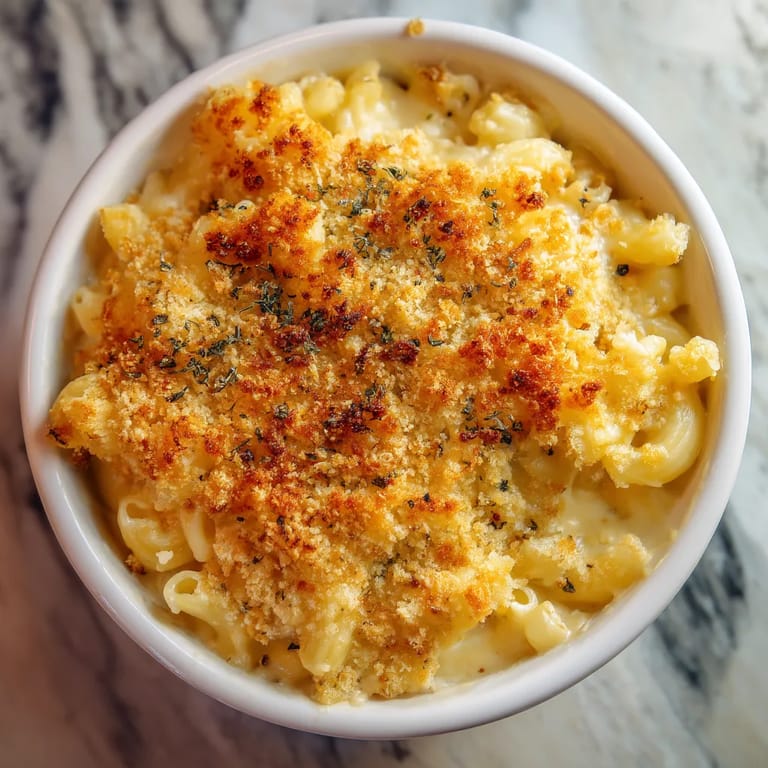
 This baked mac and cheese recipe transforms simple ingredients into the ultimate comfort food with its creamy interior and crispy, golden top. It's the dish I turn to when nothing but nostalgic, cheesy goodness will satisfy the soul.
I discovered this recipe during a particularly cold winter when my family needed something warming and comforting. The first time I served it, there was complete silence at the dinner table followed by requests for seconds—the ultimate sign of recipe success.
Ingredients
- Elbow macaroni forms the perfect vessel for capturing cheese sauce in every bite
- Butter creates the rich base for our roux that thickens the sauce
- All-purpose flour works with butter to create the perfect sauce consistency
- Whole milk and heavy cream provide the luxurious texture that makes this mac and cheese exceptional
- Sharp cheddar cheese brings that classic tangy flavor everyone expects
- Mozzarella cheese adds incredible meltability and that Instagram-worthy cheese pull
- Parmesan cheese contributes a savory depth that elevates the entire dish
- Dijon mustard enhances the cheese flavor without tasting mustardy
- Garlic powder gives subtle aromatic background notes
- Panko breadcrumbs create that irresistible crispy top layer
Tired of Takeout? 🥡
Get 10 meals you can make faster than delivery arrives. Seriously.
One email. No spam. Unsubscribe anytime.
Step-by-Step Instructions
- Prep and Preheat
- Turn your oven to 375°F and grease your baking dish. This temperature is the sweet spot for melting cheese while creating a golden top.
- Cook Pasta Perfectly
- Boil your macaroni in heavily salted water until just al dente, about 2 minutes less than package directions. The pasta will continue cooking in the oven, so slightly undercooking it now prevents mushiness later.
- Create the Roux
- Melt butter in a large saucepan over medium heat until it foams slightly. Add flour and whisk continuously for a full 1-2 minutes. This cooking step removes the raw flour taste and creates the foundation for a smooth sauce.
- Develop the Sauce
- Pour in warm milk and cream gradually while whisking constantly. This gradual addition is crucial for preventing lumps. Continue stirring for about 5 minutes until the sauce thickens enough to coat the back of a spoon.
- Season the Base
- Add mustard, garlic powder, salt and pepper to the sauce. These ingredients build flavor depth beyond just cheesiness. The mustard particularly enhances the cheese flavor without making the sauce taste like mustard.
- Incorporate Cheese
- Reduce heat to low and add cheeses in handfuls, stirring between additions. Low heat prevents the proteins in the cheese from seizing and becoming grainy. Continue until completely smooth and velvety.
- Combine Components
- Pour sauce over pasta and fold gently until every piece is coated. Take your time here to ensure even distribution.
- Prepare for Baking
- Transfer the mixture to your prepared baking dish, spreading it evenly to ensure consistent baking.
- Add the Crowning Touch
- Mix panko breadcrumbs with melted butter and Parmesan, then sprinkle evenly over the top. This creates that irresistible golden crust that makes baked mac and cheese special.
- Bake to Perfection
- Bake uncovered for exactly 20-25 minutes or until the edges bubble and the top turns golden brown. Watch carefully in the final minutes to prevent burning.
- Rest Before Serving
- Allow the dish to rest for 5-10 minutes before serving. This resting period helps the sauce set slightly for easier serving.
 Save to Pinterest
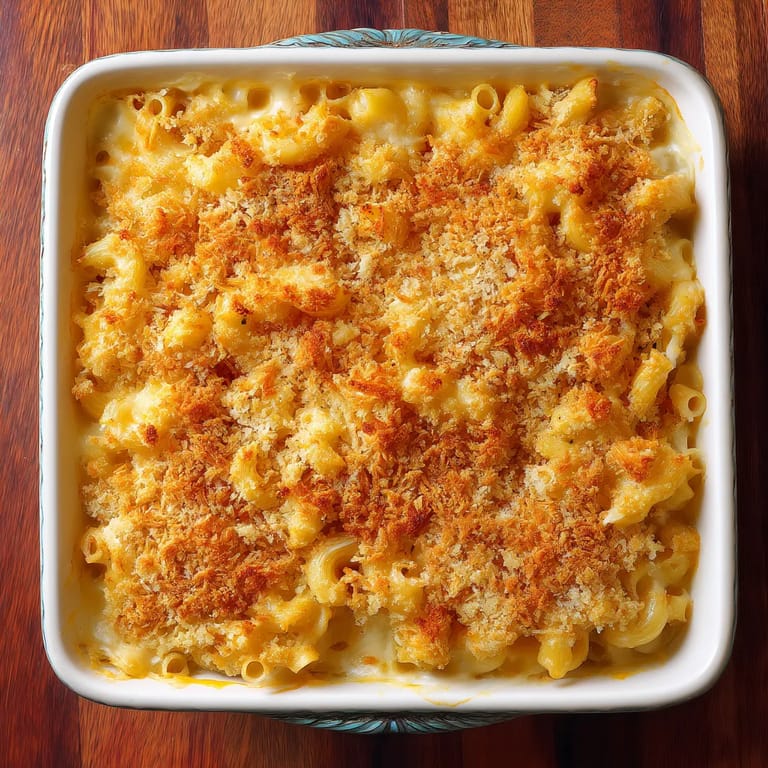
 The combination of three different cheeses is what makes this recipe stand out from others I have tried. My grandmother taught me that the sharp cheddar provides flavor while the mozzarella contributes that creamy meltability everyone loves. When I make this for potlucks, it disappears faster than any other dish on the table.
Make-Ahead Options
You can prepare this mac and cheese up to 24 hours before baking. Complete all steps until just before adding the breadcrumb topping, cover with plastic wrap directly on the surface to prevent a skin from forming, and refrigerate. When ready to bake, bring to room temperature for 30 minutes, add the breadcrumb topping, and bake as directed, adding about 5-10 extra minutes to the baking time.
Creative Variations
Transform this classic mac and cheese by adding protein or vegetables. Fold in cooked bacon pieces, shredded rotisserie chicken, or lobster meat for a luxurious option. For vegetables, try roasted broccoli florets, caramelized onions, or sautéed mushrooms. My family particularly loves the addition of roasted garlic cloves and diced ham for Sunday dinners. Each variation keeps the comfort factor while creating an entirely new dish.
Choosing the Right Cheese
The cheese quality dramatically impacts your final result. For the sharpest flavor, choose aged cheddar that has been aged at least 9 months. Always grate your own cheese rather than using pre-shredded varieties, which contain anti-caking agents that can make your sauce grainy. For a more complex flavor profile, consider replacing some of the cheddar with Gruyère, which adds a wonderful nutty note that complements the sharpness of the cheddar perfectly.
Troubleshooting Tips
If your sauce seems too thick, add warm milk a tablespoon at a time until reaching desired consistency. Conversely, if too thin, simmer a few minutes longer. For the crispiest top, place under the broiler for the final 1-2 minutes of baking, watching carefully to prevent burning. If your mac and cheese seems dry after baking, next time try undercooking the pasta even more or adding an extra splash of cream to the sauce.
Save to Pinterest Common Recipe Questions
- → Can I make this mac and cheese ahead of time?
Yes, you can assemble the mac and cheese up to 24 hours ahead and refrigerate before baking. Add 10-15 minutes to the baking time if cooking from cold. For best results, add the breadcrumb topping just before baking to maintain its crispiness.
- → What cheeses work best for mac and cheese?
Sharp cheddar provides the classic flavor, while mozzarella adds stretchiness, and Parmesan contributes nuttiness. Other excellent options include Gruyère, fontina, or gouda for richness, Monterey Jack for meltability, or blue cheese for a bolder flavor. Always use freshly grated cheese rather than pre-shredded for better melting.
- → Can I freeze baked mac and cheese?
Yes, you can freeze baked mac and cheese for up to 3 months. Prepare the dish completely, but stop before adding the breadcrumb topping. Cool completely, cover tightly with foil, and freeze. When ready to eat, thaw overnight in the refrigerator, add fresh breadcrumb topping, and bake until hot and bubbling.
- → How can I make this dish gluten-free?
Substitute regular pasta with your favorite gluten-free pasta (corn or rice varieties work well). Replace all-purpose flour with gluten-free flour or cornstarch for the roux. Use gluten-free breadcrumbs or crushed gluten-free crackers for the topping. Always check cheese and condiment labels for hidden gluten.
- → What can I add to mac and cheese for extra flavor?
Try adding cooked bacon, diced ham, or shredded chicken for protein. Caramelized onions, roasted garlic, sautéed mushrooms, or steamed broccoli make excellent vegetable additions. For flavor boosts, incorporate smoked paprika, cayenne pepper, truffle oil, buffalo sauce, or pesto. Each addition brings unique character to this versatile dish.
- → Why is my mac and cheese grainy instead of creamy?
Grainy texture usually occurs when cheese is added to liquid that's too hot or when it's overheated, causing the proteins to separate. Always remove the milk mixture from direct heat before adding cheese and stir in gradually. Using pre-shredded cheese (which contains anti-caking agents) can also cause graininess, so grate your own for best results.